Next
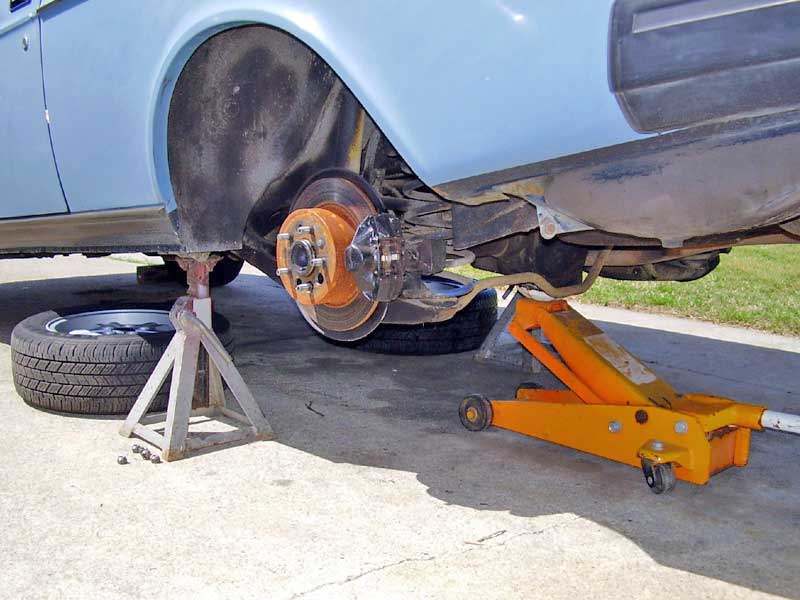
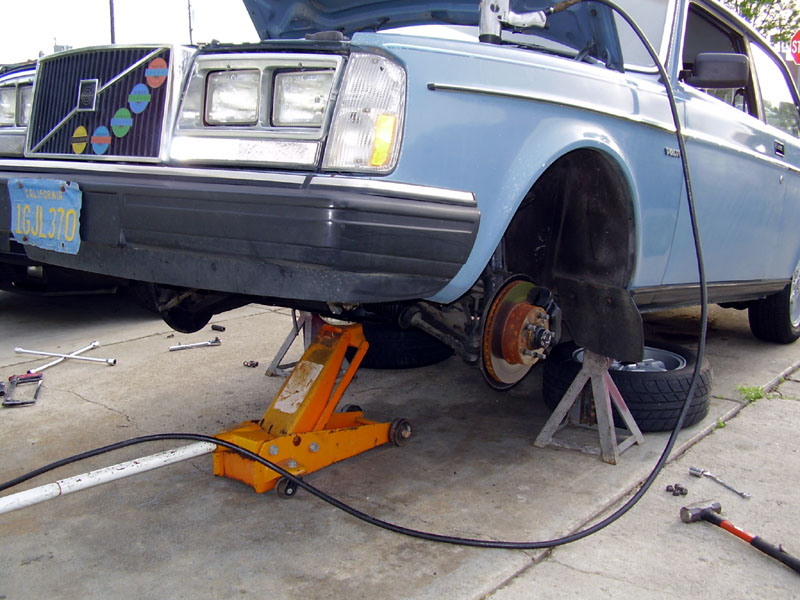
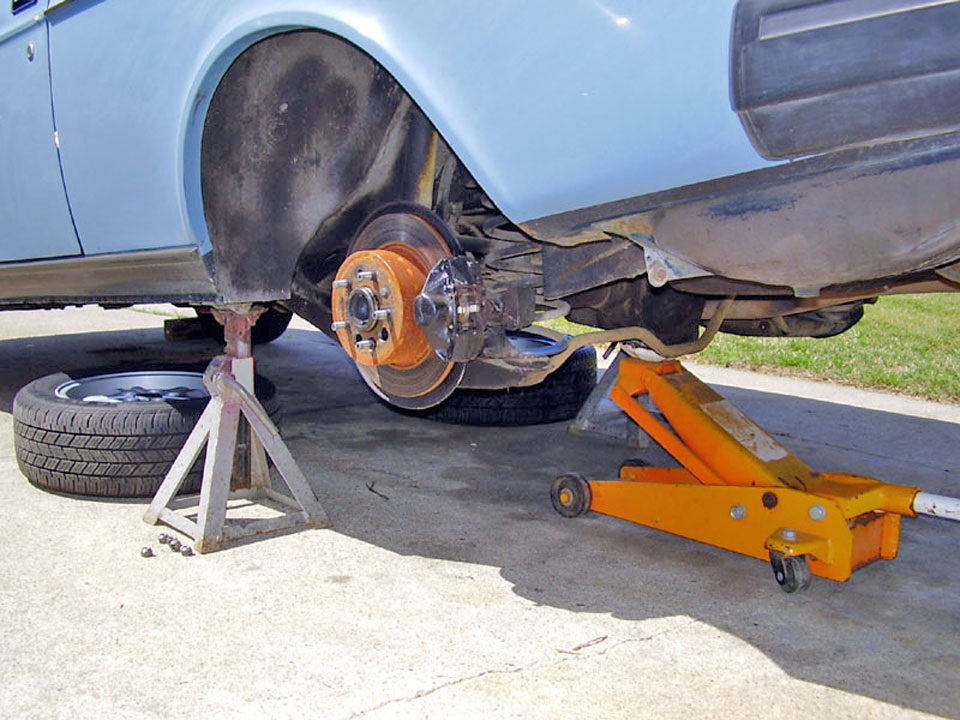
jack up the front by the crossmember and place jack stands at each front jacking
point.
Set the car on the jackstands and use the jack as an emergency support.
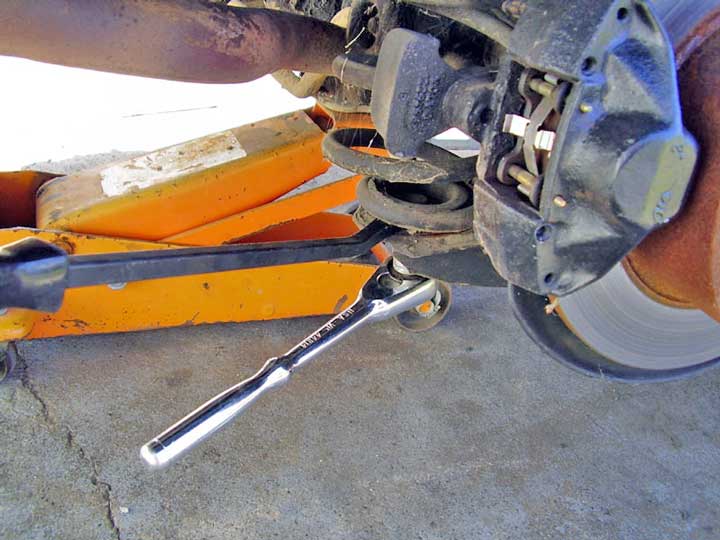
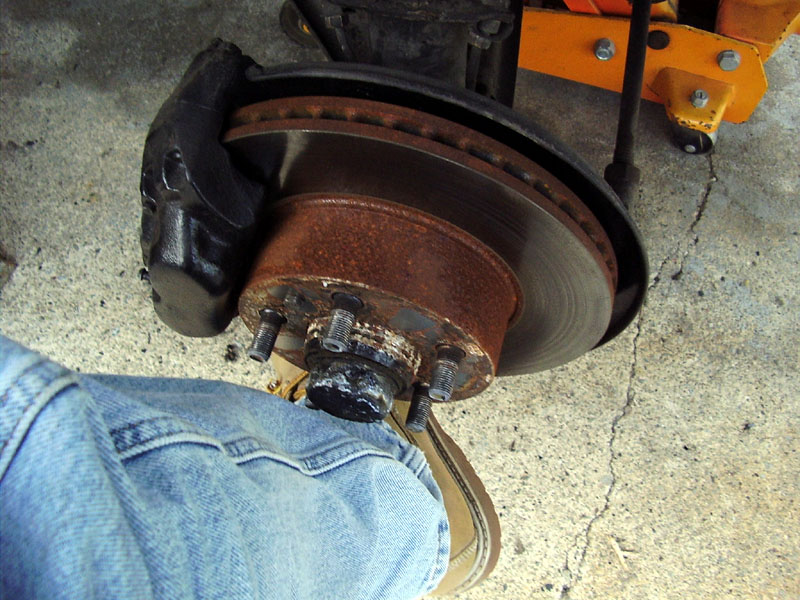
Remove the front wheels.

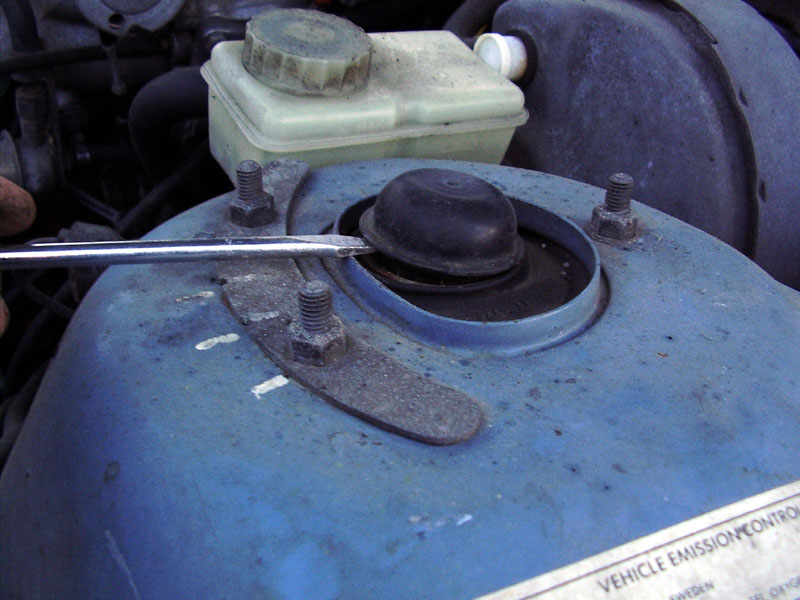
Next remove the slip on
strut nut plastic covers.
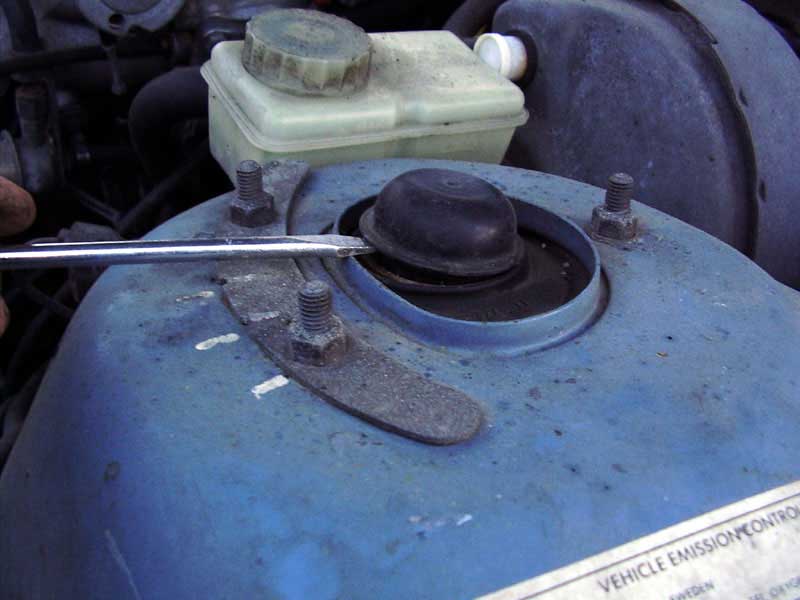
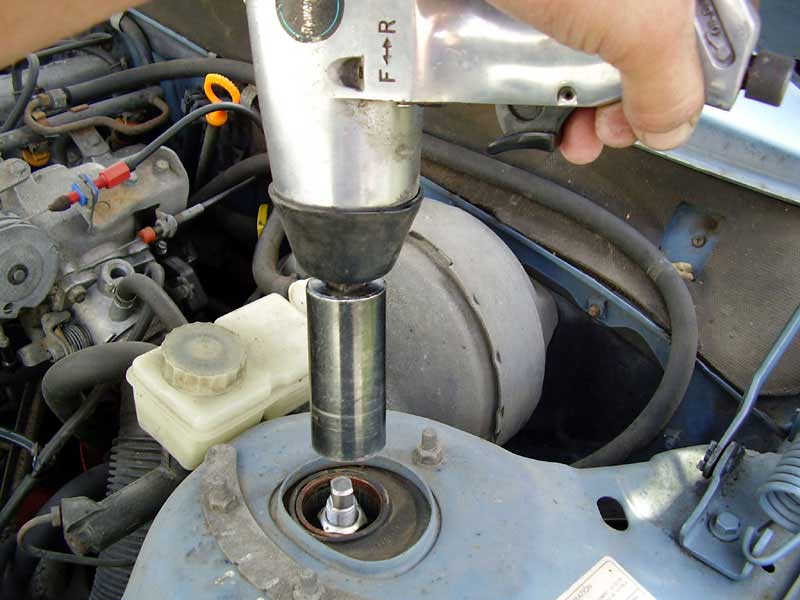
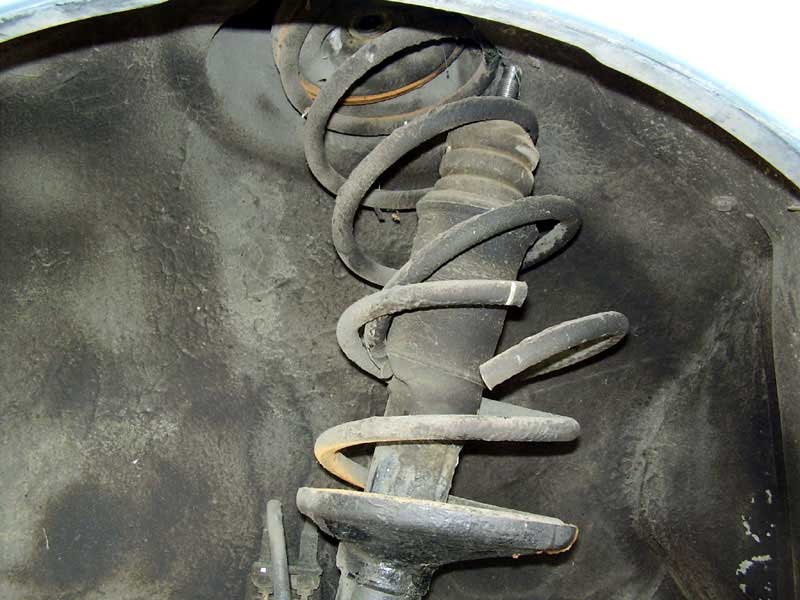
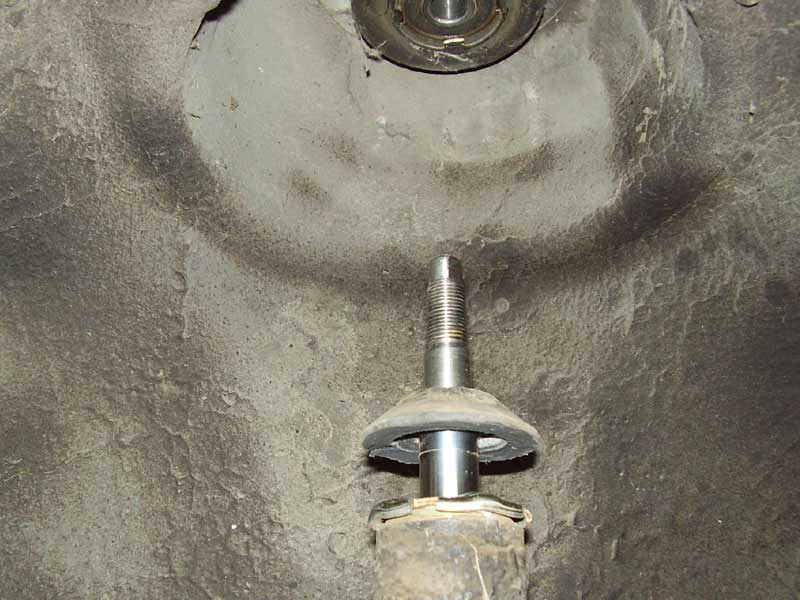
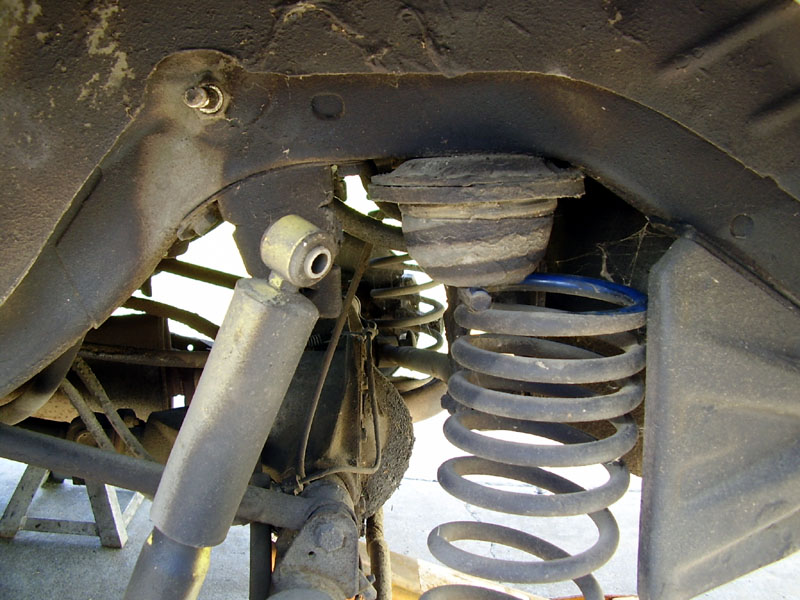
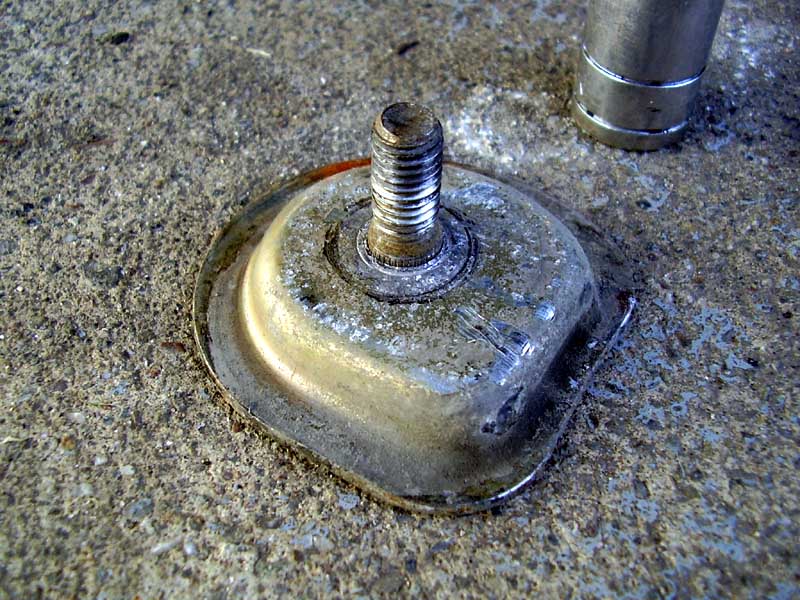
Now with the strut nut
exposed use a impact gun and deep 24mm socket to remove the nut.
Make sure there is nothing under the strut assembly as it will "pop"
down from most of the pressure of the spring being released.
Watch your toes!
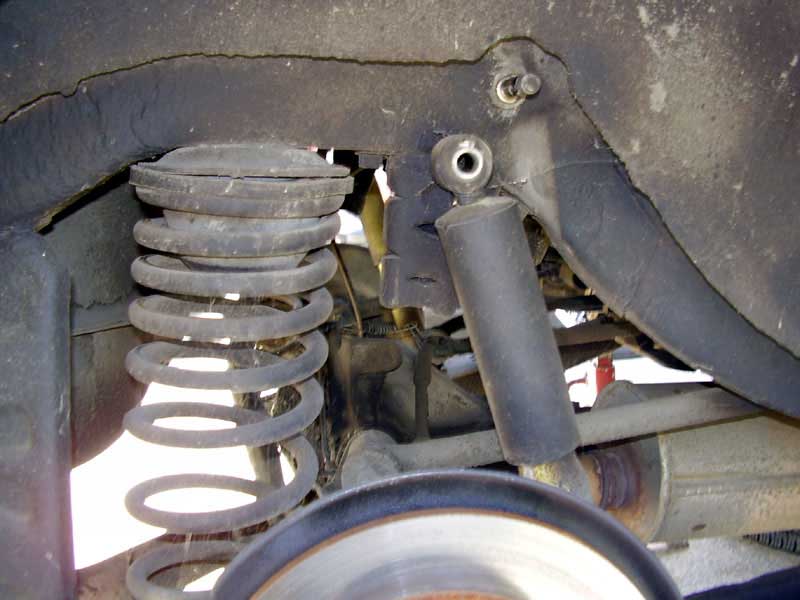
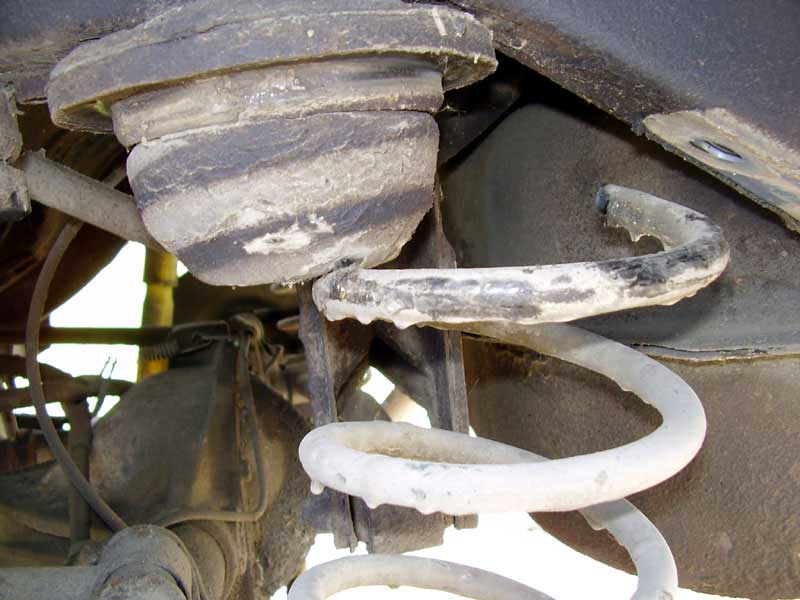
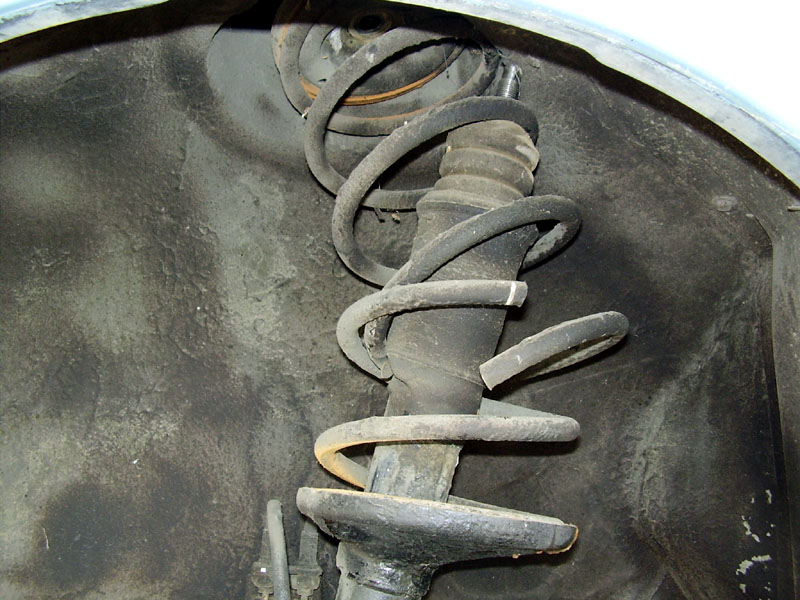
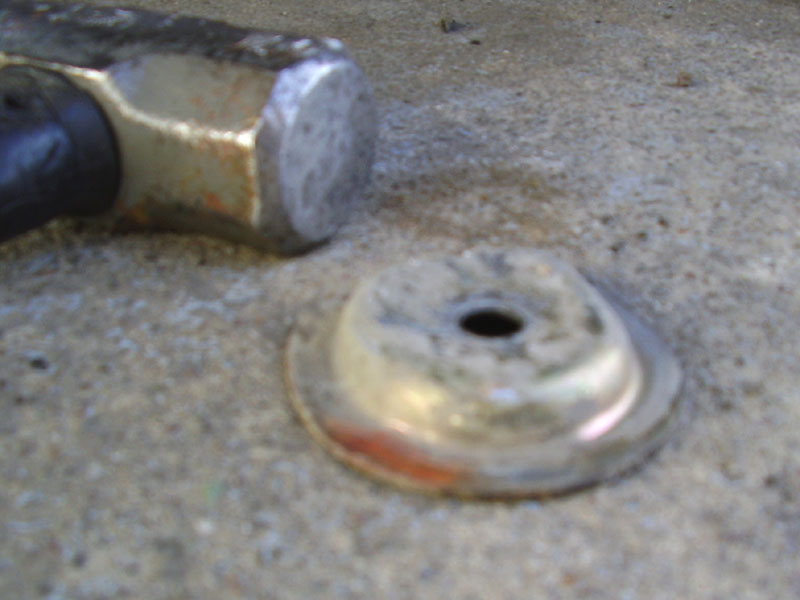
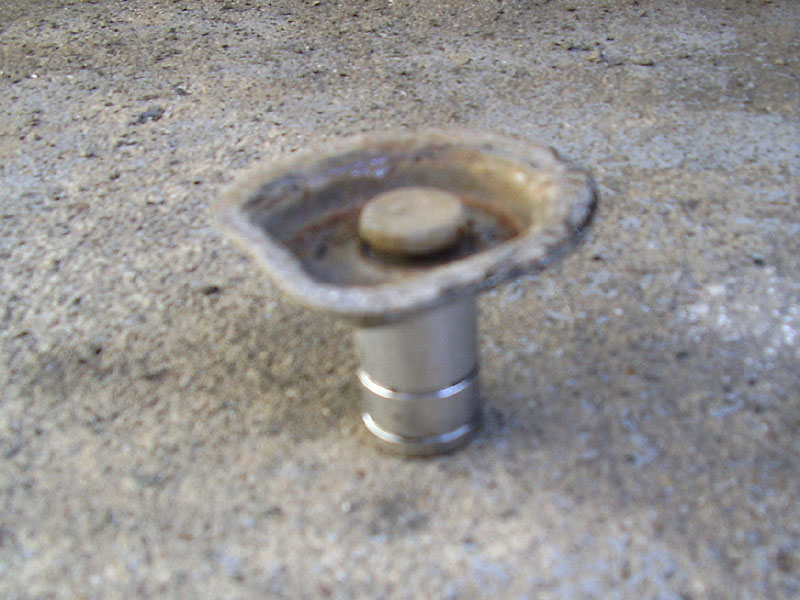
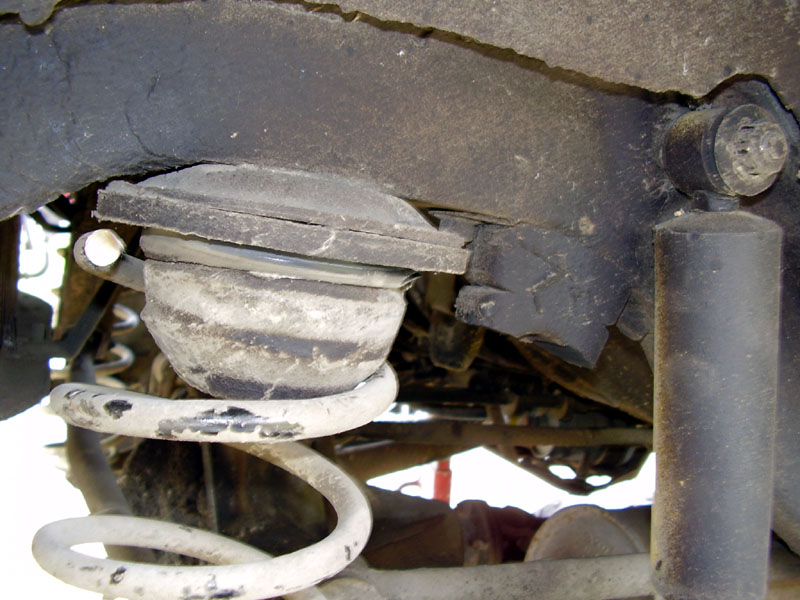
It
should now look like this on top.
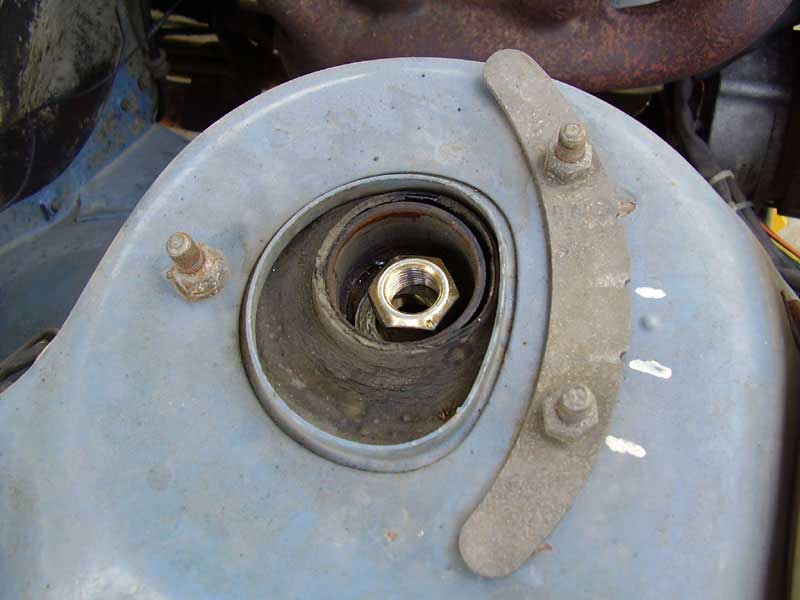
And like this from underneath.
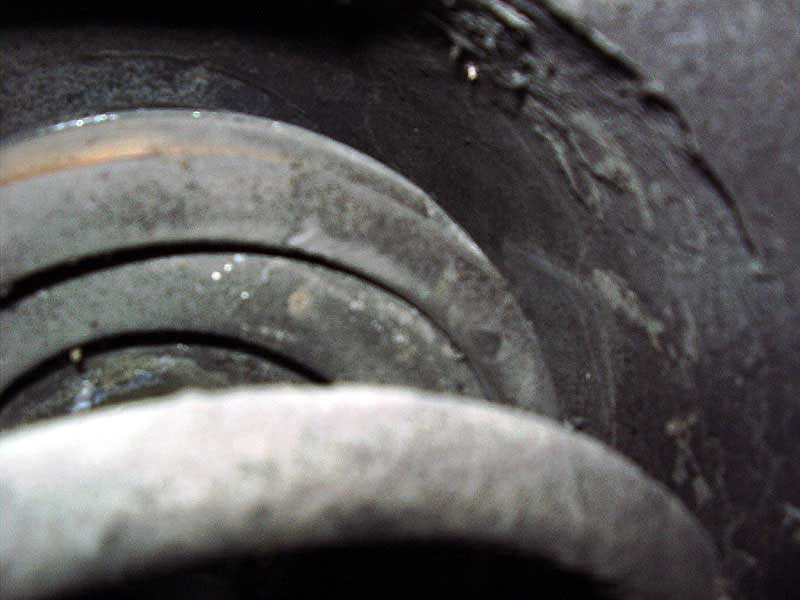
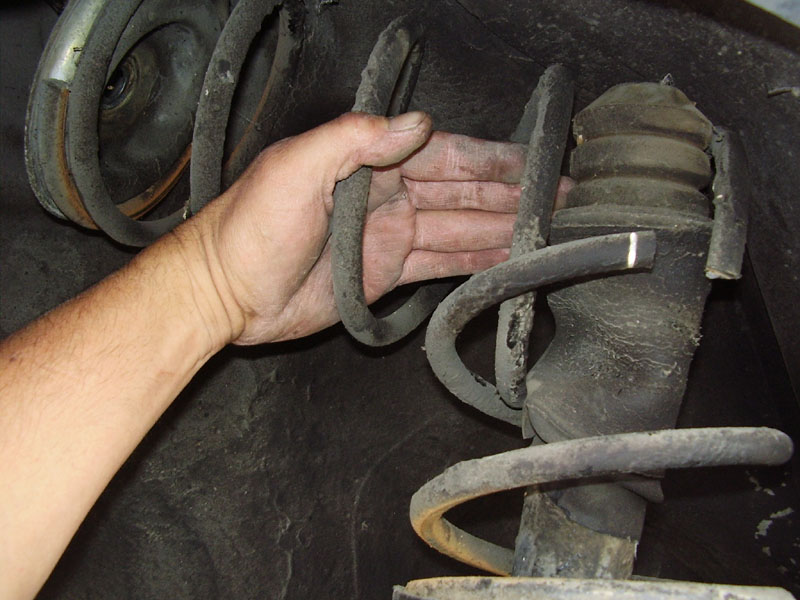
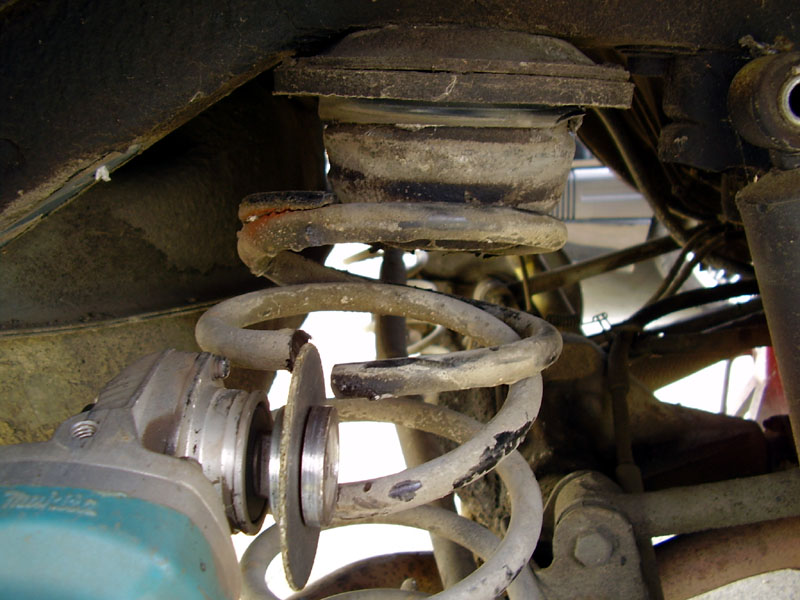
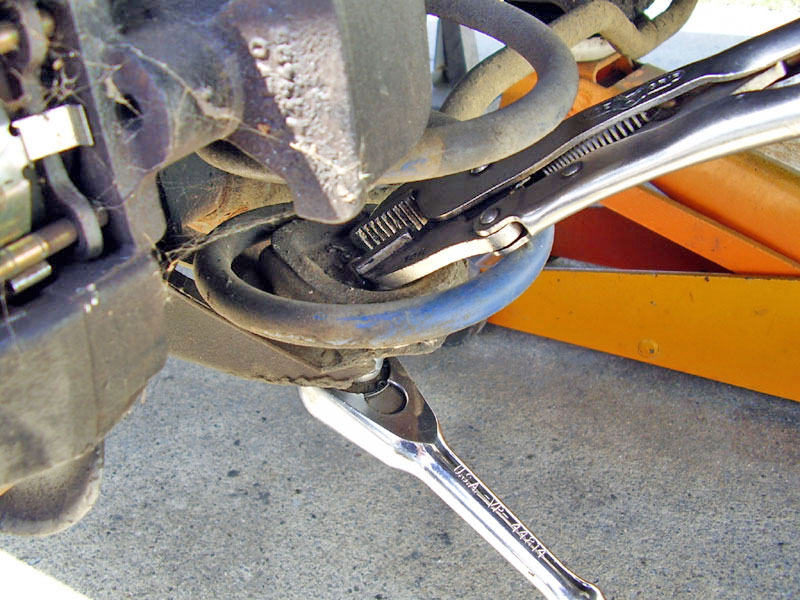
You need to be careful
and mindful at this stage as there is still enough force left in the
partially compressed spring to take off a finger, so don't be sticking hands
and fingers in there.
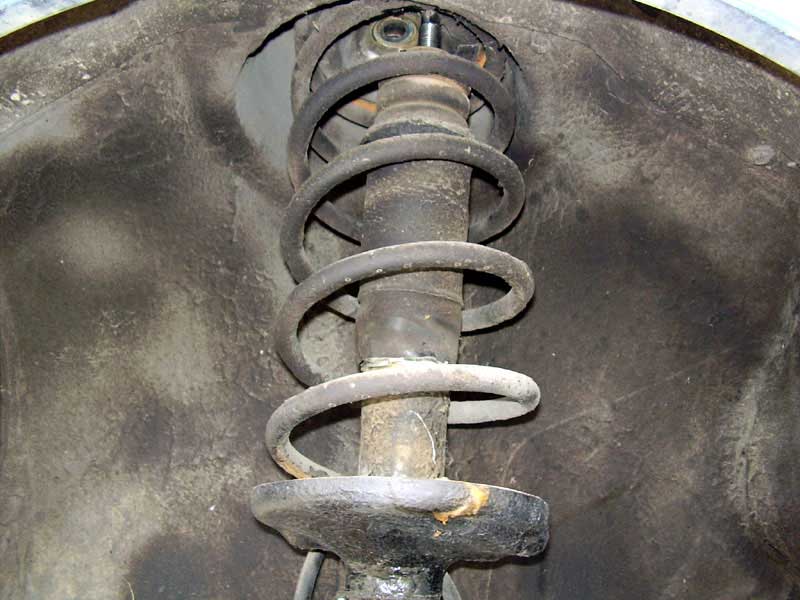
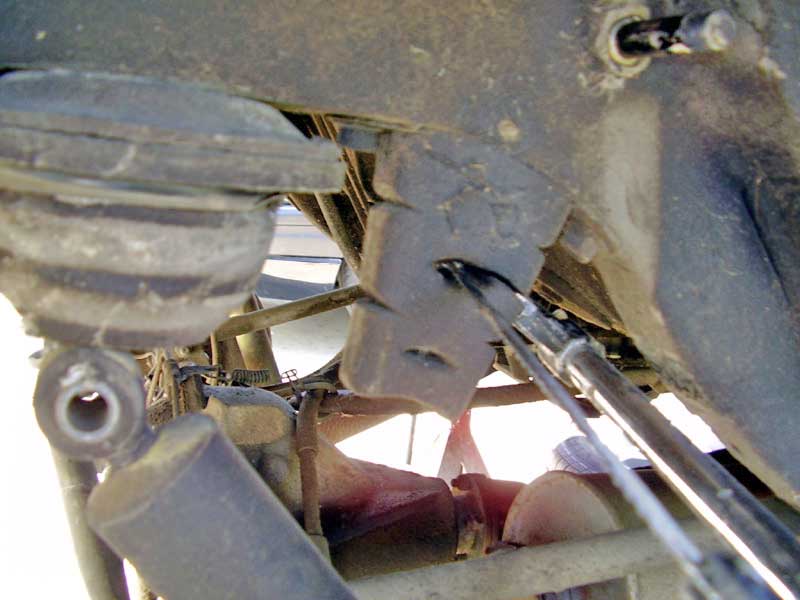
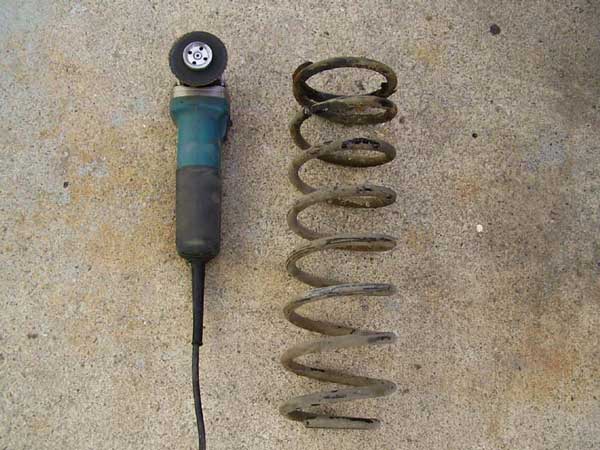
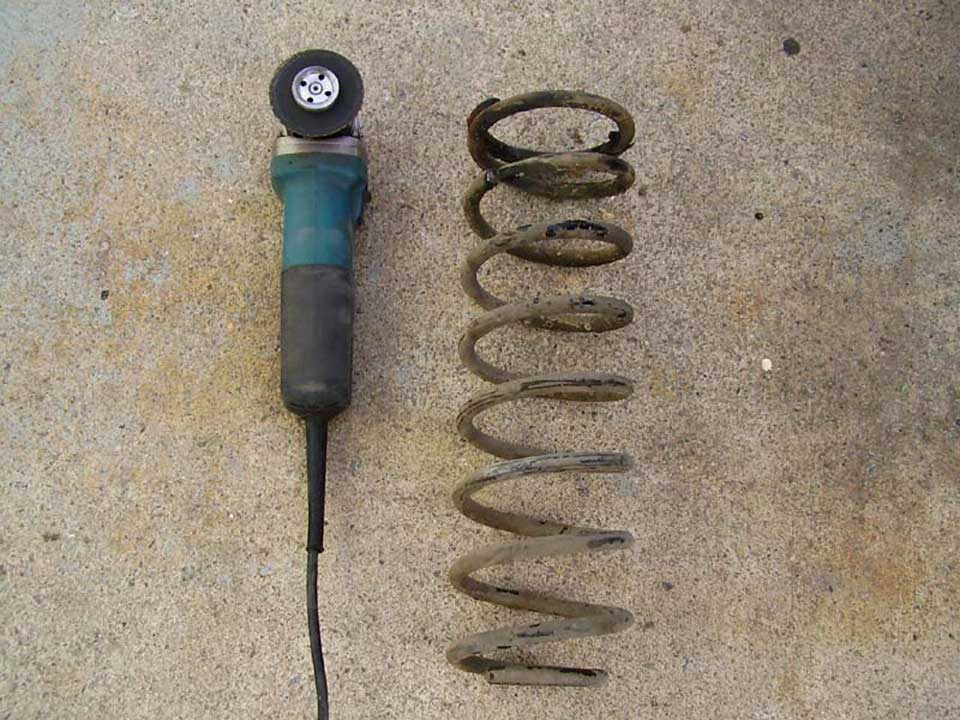
Get out your grinder with cut-off wheel or whatever you plan to use to cut
the spring.
Count from the tip of the spring on the bottom up to your desired amount of
coils to be removed.
Go ahead and cut it there knowing that it will pop and release the rest of
the spring pressure
once you are almost cut completely through the spring.
Make sure your hands and fingers are clear as it will be a good loud pop
and the spring pieces will move around.
Next make sure there is
no pressure still on the spring. Tap it with a big rubber mallet.
The spring pieces should move around easily.
You can now push the strut shaft down and wiggle the top piece of spring off.
This is the piece you will be keeping and using.
Remove the bottom piece next and discard it.
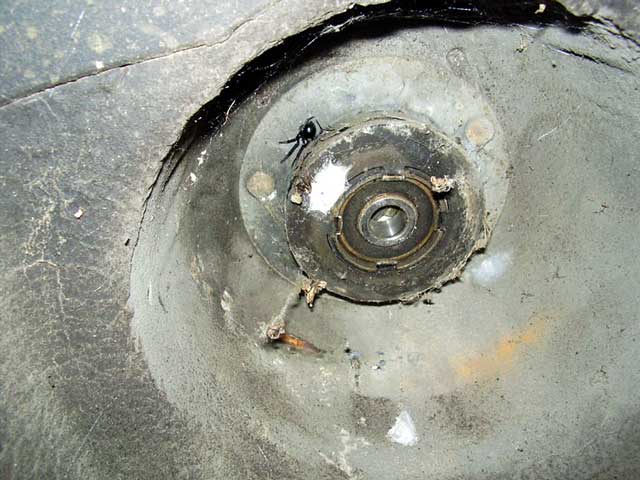
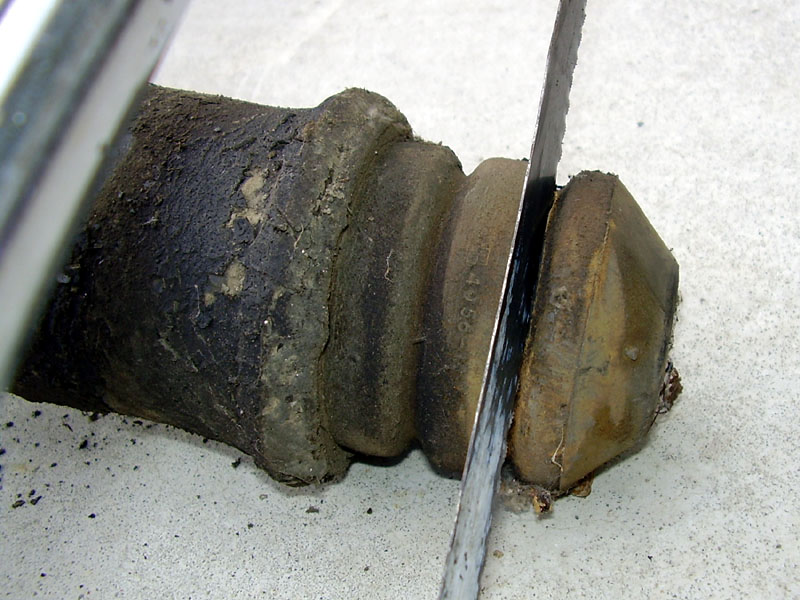
Remove the bump stop/dust cover and set it aside for the next step.

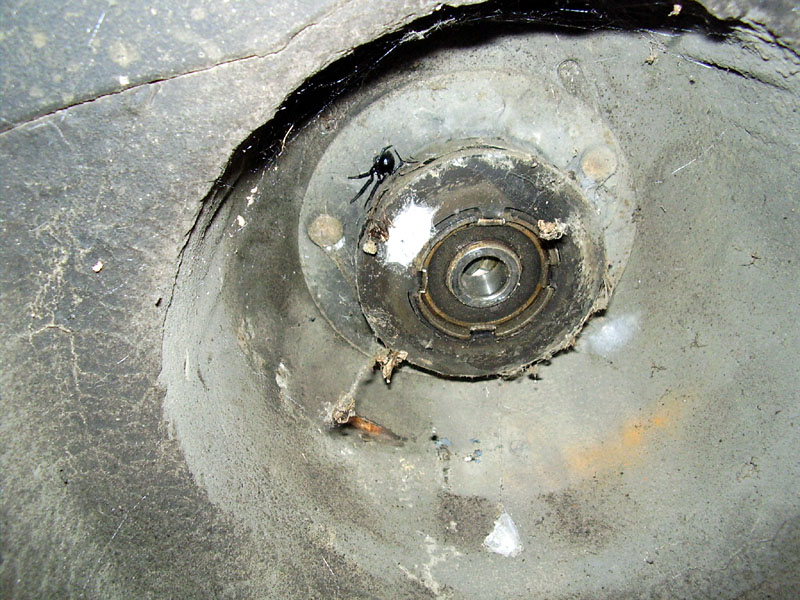
Be mindful of spiders and
bugs as they like to hide out on top of the spring area.
This car had a lovely Black Widow spider hiding up there.
For most people you can
trim the bump stop down to as far as ONE hump left.
A hack-saw or band saw if you have one handy.
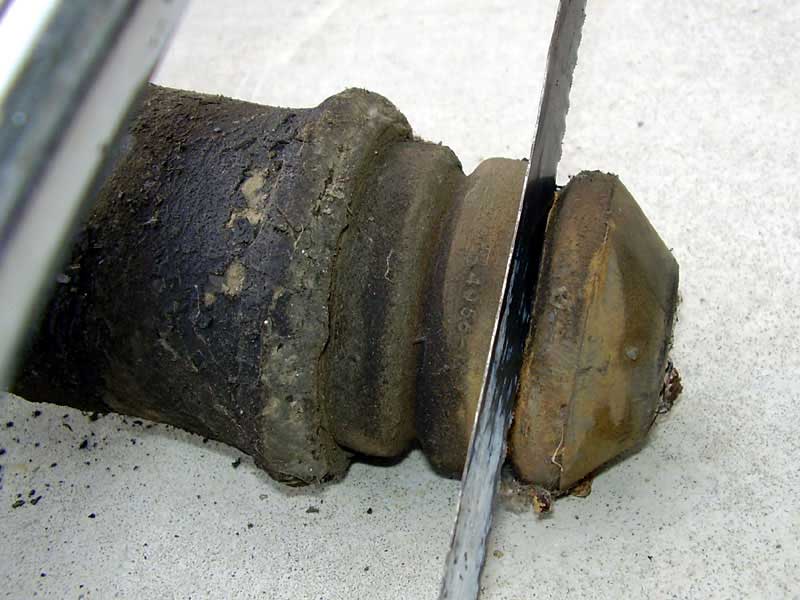
For me personally, I cut
a little more, because I usually lower my cars pretty low.
I need all the help I can get with travel so I cut mine here:
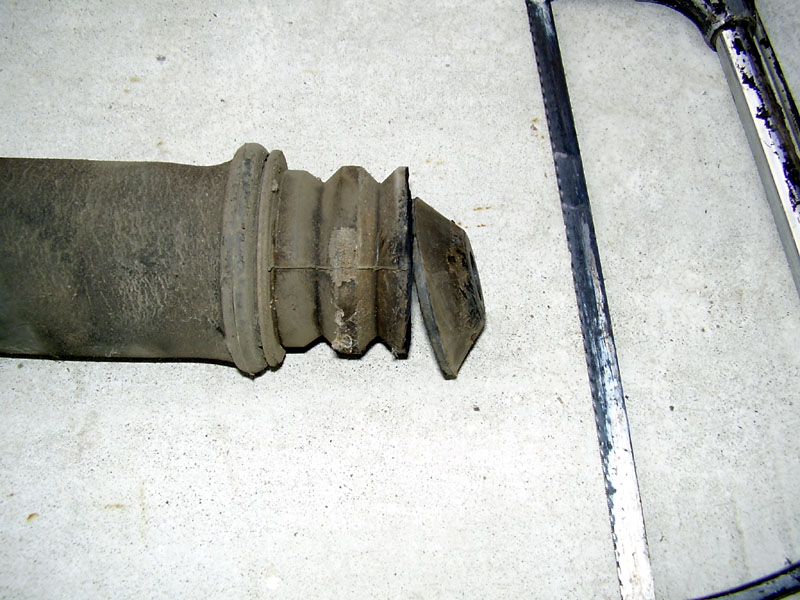
Next I start putting it
all back together. Bump stop on first.
I do not use a dust boot. I've done this literally hundreds
of times and never had a problem. If you really don't like that idea,
you can buy Bilstein HD's and they come with their own new dust boots.
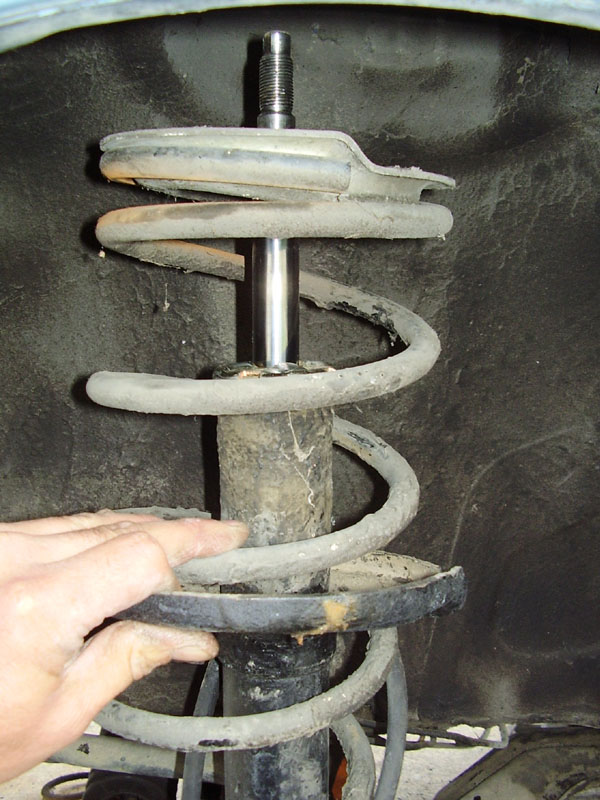
Next put the spring back
on and wind it down past the perch a little bit like this:

Now put the top spring
perch back on the strut shaft and try to line up the shaft with it's hole.
Depending on what struts you have, some strut shafts are pressurized and you will
need to push them down.
Others won't be and you will have to pull the shaft up.

Once you get the strut shaft
all the way up with all the pieces on it and it's lined up with the hole,
I use my foot to push up on the bottom of the strut assembly and get the strut
shaft to poke
up out the top of the hole so I can start the nut. A lot of things to do at
once, but it's not too hard.
If you struggle with this part, you can carefully use the jack to slowly raise the
assembly.
Just a few threads started
is all you need at this point.
Just enough so it won't come apart.

Now with all of that done,
you can spin the spring back up onto the lower perch where it belongs.
The more you cut off the easier this part will be.
If you cut 1.5-2 coils,
you will be cussing at this part.
If you cut 2.25 coils or more off, this should be fairly easy.
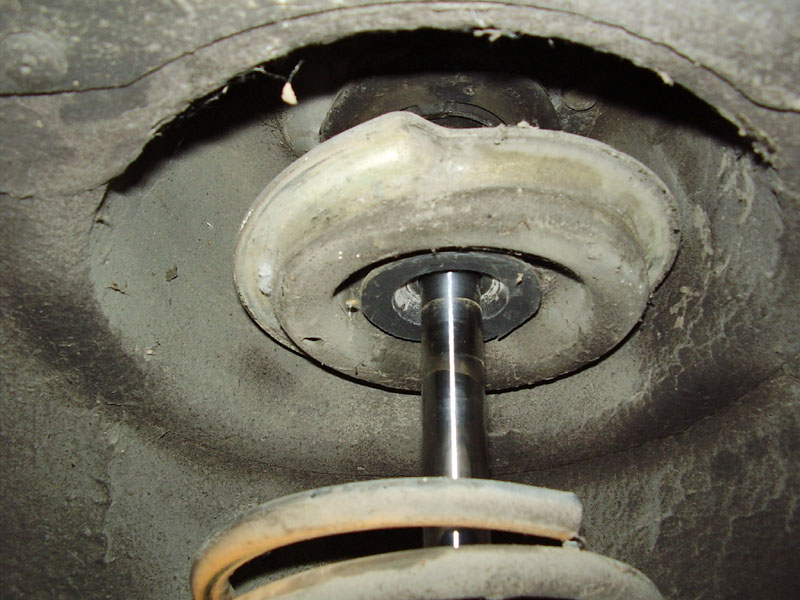
You need to get the bottom of the spring located in it's original indentation in the bottom plate like
this pic:

Once the bottom is located
properly, you can spin the top perch plate until the
tip of the spring top lines up in its indent on the top spring perch.
(Sorry, hard to get a good picture of that.)
Once those are all lined
up, it's okay to go ahead and tighten the top nut with your impact gun.
After you tighten it, check the spring orientation again because sometimes
they will
move when you tighten them. You can still adjust the top spring perch with
it tightened
down, it's just now considerably harder to move.
Once it's all tight you can pop the top plastic cover back on and your front end
is all done!
Onto the back....
Same thing, jack it up
by the rear axle and place jack stands at the factory rear jack mounts.
Remove the rear wheels.
Notice I place them under the car just in case it
does fall it
gives me a little extra safety net.
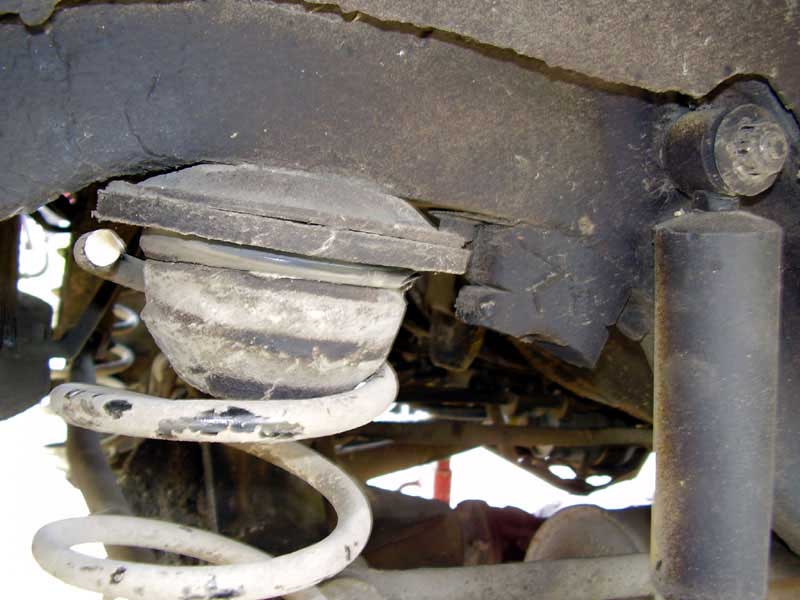
For the rear I set the
car on the jack stands completely, then jack the rear end back
up slightly just enough to take the weight off of the shocks. I then remove
the top shock nut and pull the shock off.

Once the rear shock is
off of it's top mount you can lower the rear axle down with the jack
to release the spring pressure.
You should be able to lower
the rear axle enough to release all of the spring pressure.

If you are lucky, you can
cut the desired amount off and put it all back together.
But most of the time you will have to loosen or remove the spring completely
to get to the point where you want to cut.

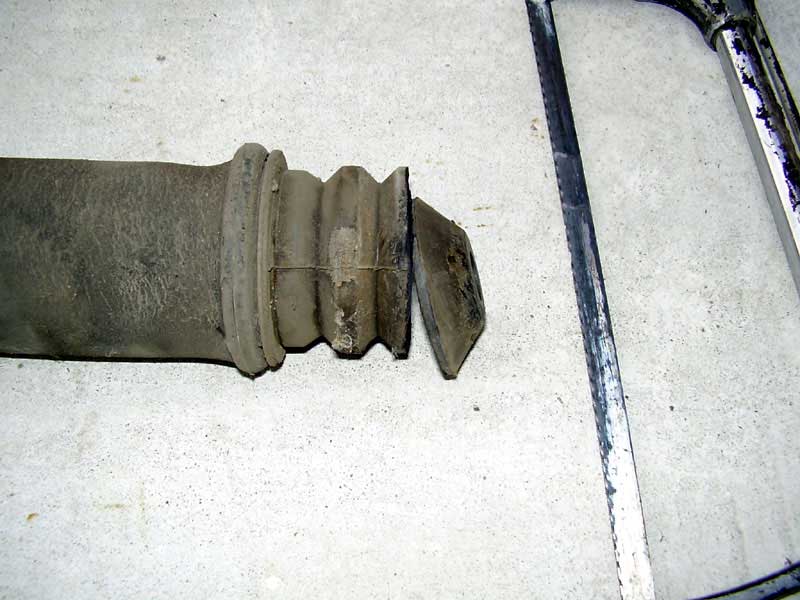
Don't forget to trim the
rear bump stops also.
I've never had to trim
more than this, even going really low.
I leave the center pinion bump stop alone.

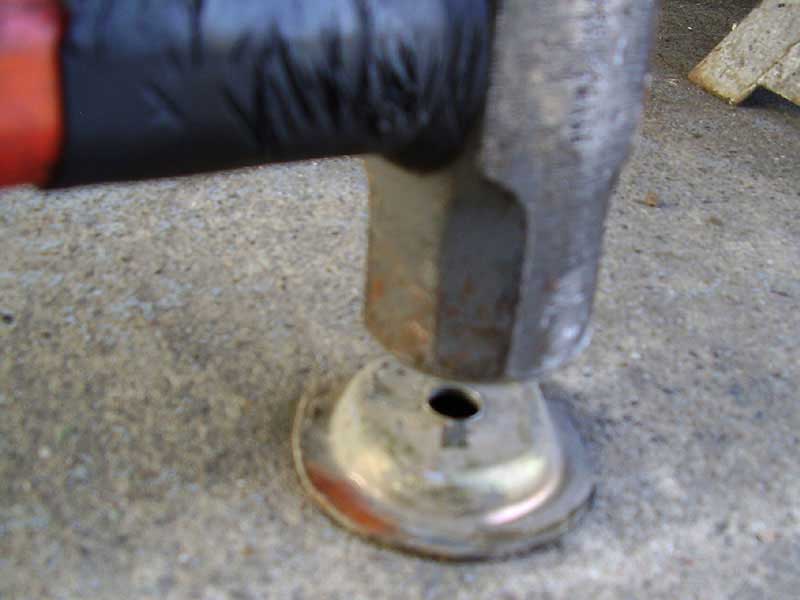
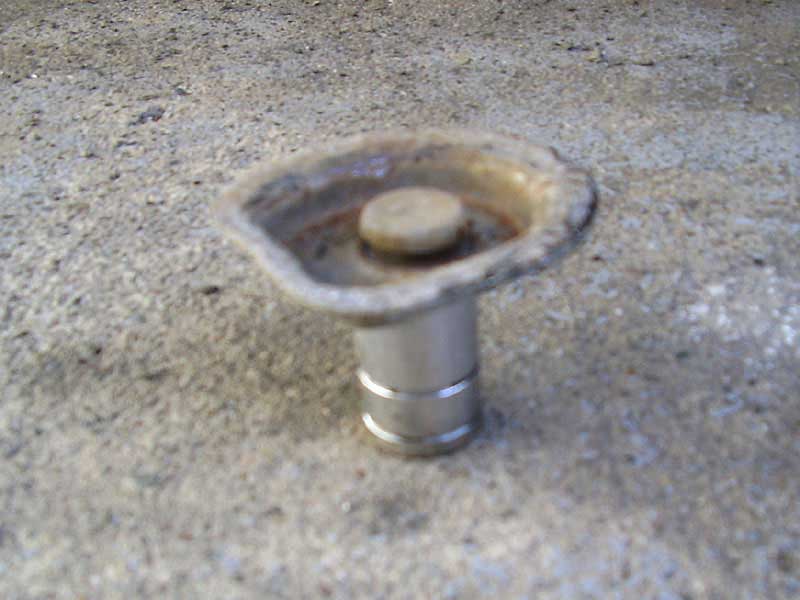
IF you have to loosen a
spring to get to the point where you want to cut it, just remove it completely.
The little spring retainer with the stud at the bottom often strips
out to hole from being stretched when tightened down too many times.
You may get it loose, but more than likely it will just spin when you try
to tighten it.
So completely remove the spring, cut desired amount off and follow my instructions
to fix the retainer.
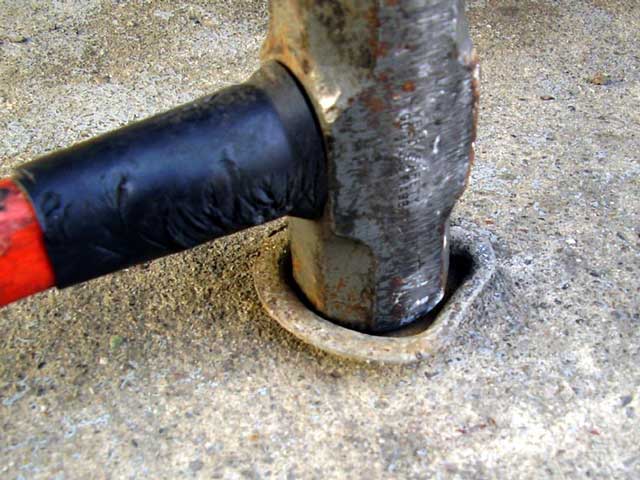
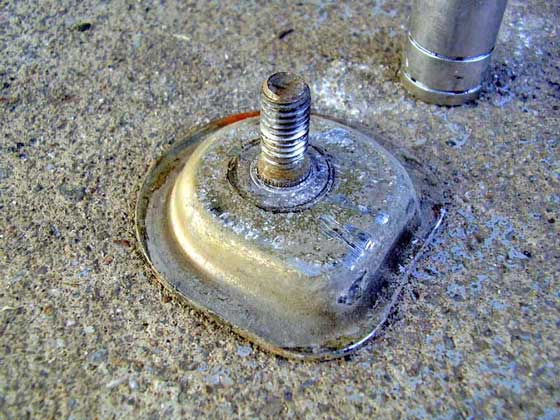
If the stud spins in the
retainer try grabbing it with a good pair of vise grips.
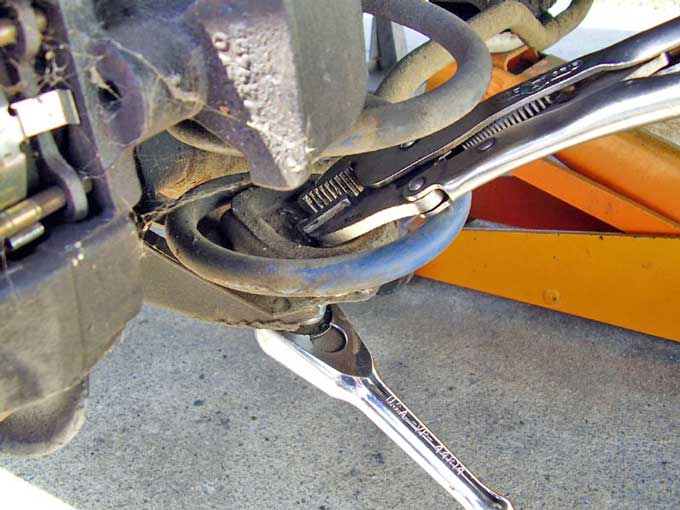
If that doesn't work, try
putting leverage on the spring to help hold the stud from spinning.
If those don't work, you
can cut the stud and replace it with a nut and bolt.
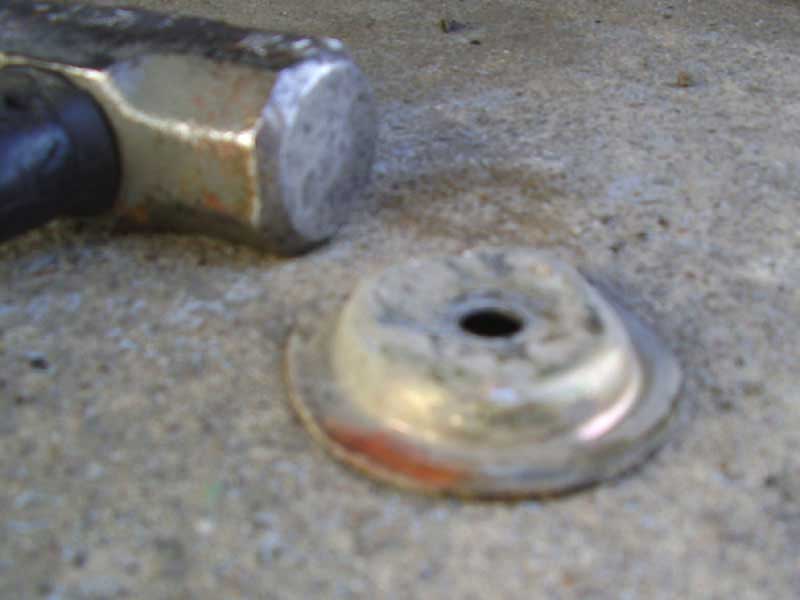
Once you get the retainer plate off, knock the stud out. Hammer the center
back to flat
and reinstall the stud. If you have a welder, put a couple spot welds
on so you never have to do this again.
When reinstalling the spring
make sure the pig tails on both sides are facing forward.
Note: I replaced the stud with a bolt.
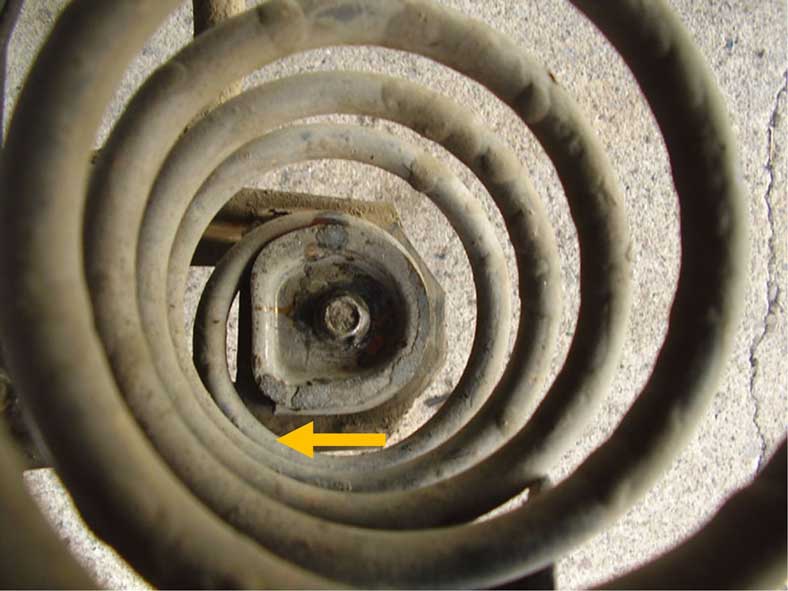
When re-seating the springs
as you jack the suspension up, make sure the rear spring is AROUND
the top perch, not getting stuck on the bottom of it.
It should look like this below:
Not like this:
Once the springs are cut,
installed properly and the bump stops are cut,
You can jack up the rear end and reinstall the rear shocks.
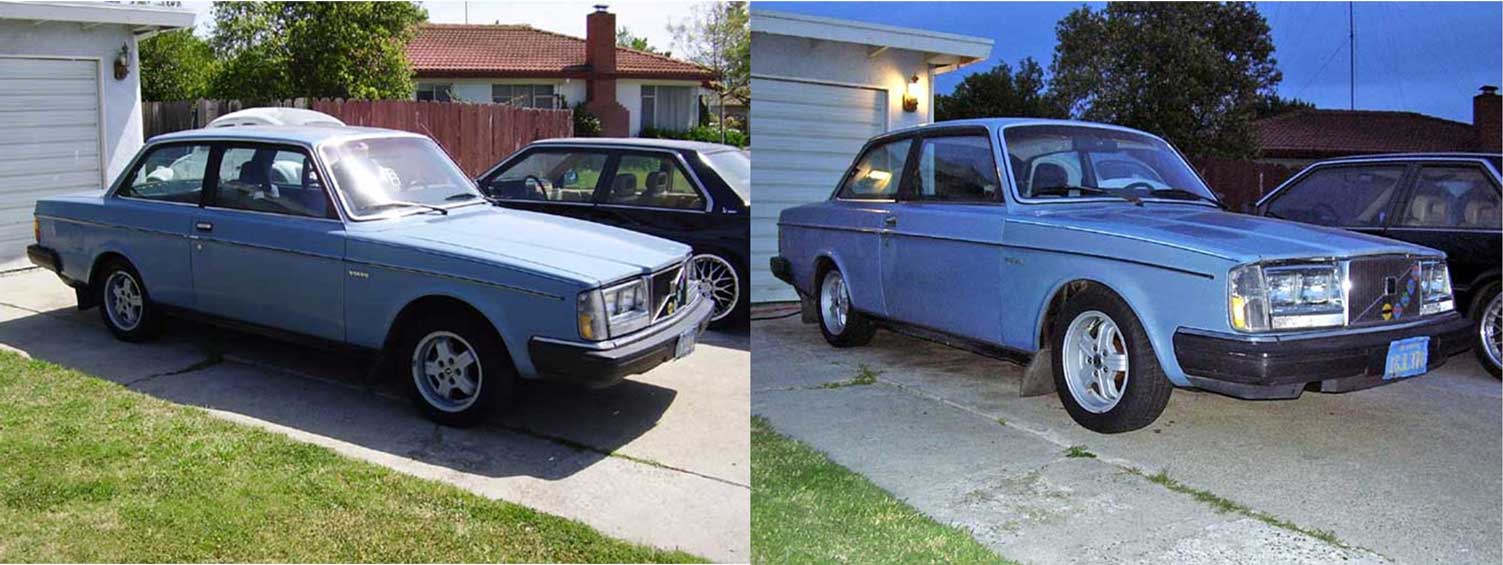
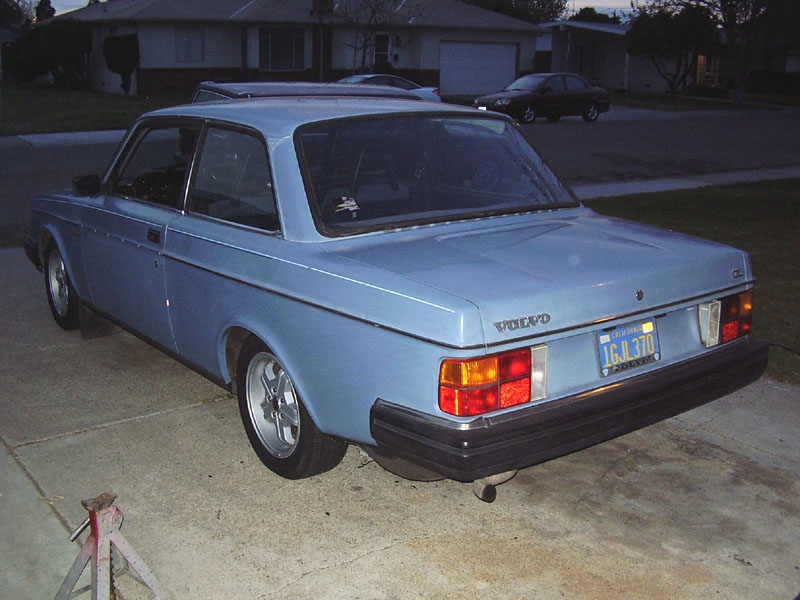
Congrats! The rear is now done and you have a lowered 240.

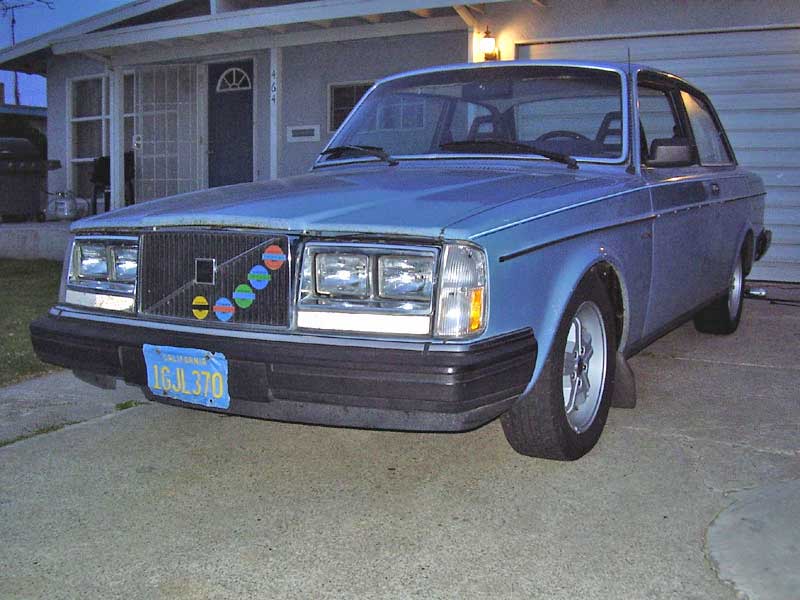
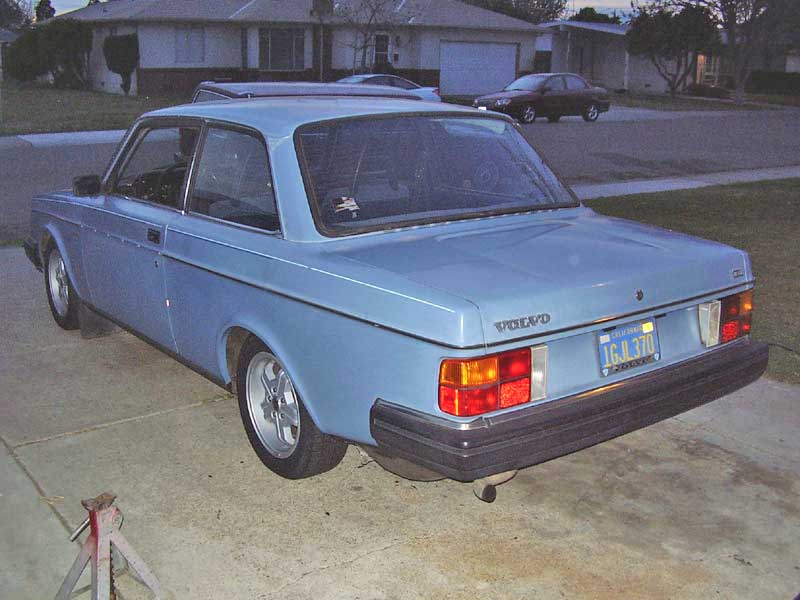
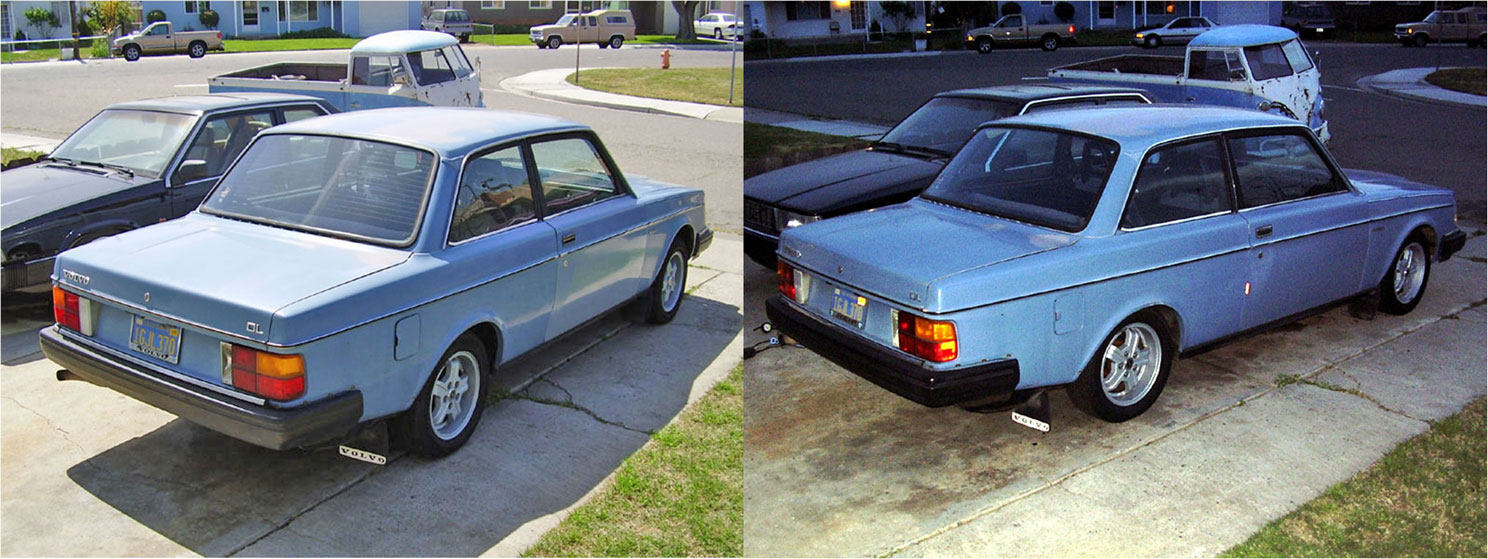
BEFORE AND AFTER COMPARISON

| 


