This purpose of this project was to produce a
bored and stroked B23FT with
2630cc of turbocharged,
Volvo torque! |
A dyno
session in 2005 produced a rear wheel torque measurement of 323 ft lbs at 3200 RPM (18 PSI
boost with 100 octane fuel)
Best gas mileage with a T5 transmission was 27 MPG.
This
project
was born out of a desire for more low-end torque out of my
245Ti. Boost is nice and certainly effective, but I
decided that a base of 2.1 liters is just not enough... not for
me. As it turned out, 2.3 liters is not enough
either! But rather than mess with something as complex as
a V-8 conversion, I decided to keep the Volvo motor. I
believe in Volvo motors. They are such sturdy hunks of
iron with so much potential. I just don't particularly
believe in original specs.
This
project
began with the purchase of a used B23FT junkyard motor in
January 1999.
This custom engine was
completed and installed in April of 2001.
When
I
started this, I had originally planned to use the stock
K-Jetronic fuel injection since I did not think at the time I
could afford (or figure out how to install) a decent
aftermarket EFI system. I considered a stock EFI system
from another Volvo but dropped it because of it's
inflexibility. This was many years before less expensive
EFI alternatives were born, like Megasquirt. But...
since I eventually decided to go to the trouble to fit an EFI,
I wanted it to be something more programmable. What I
ended up with was a complete and fully programmable
aftermarket EFI system from Racetech - SDS (Simple
Digital Systems). They have a web site that
fully explains this system.
Fuel
injectors
are 550cc Lucas units from RC
Engineering in Torrance, California.
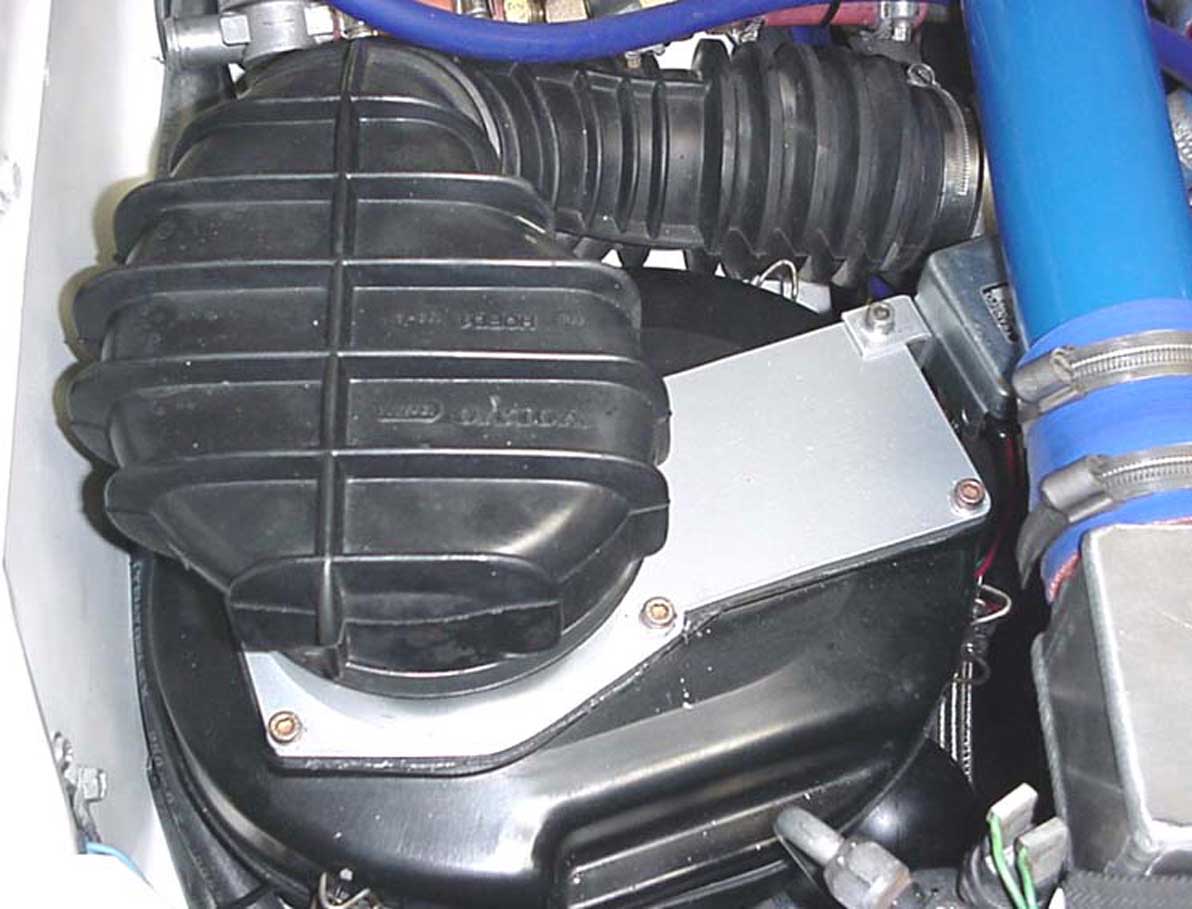
I had
had a custom all-aluminum intercooler fabricated for use in
this project. It was made to my specs by Spearco Intercoolers. This intercooler was basically made to OEM 240 Turbo
intercooler dimensions, except that it was increased to 3.5 inches
thick.

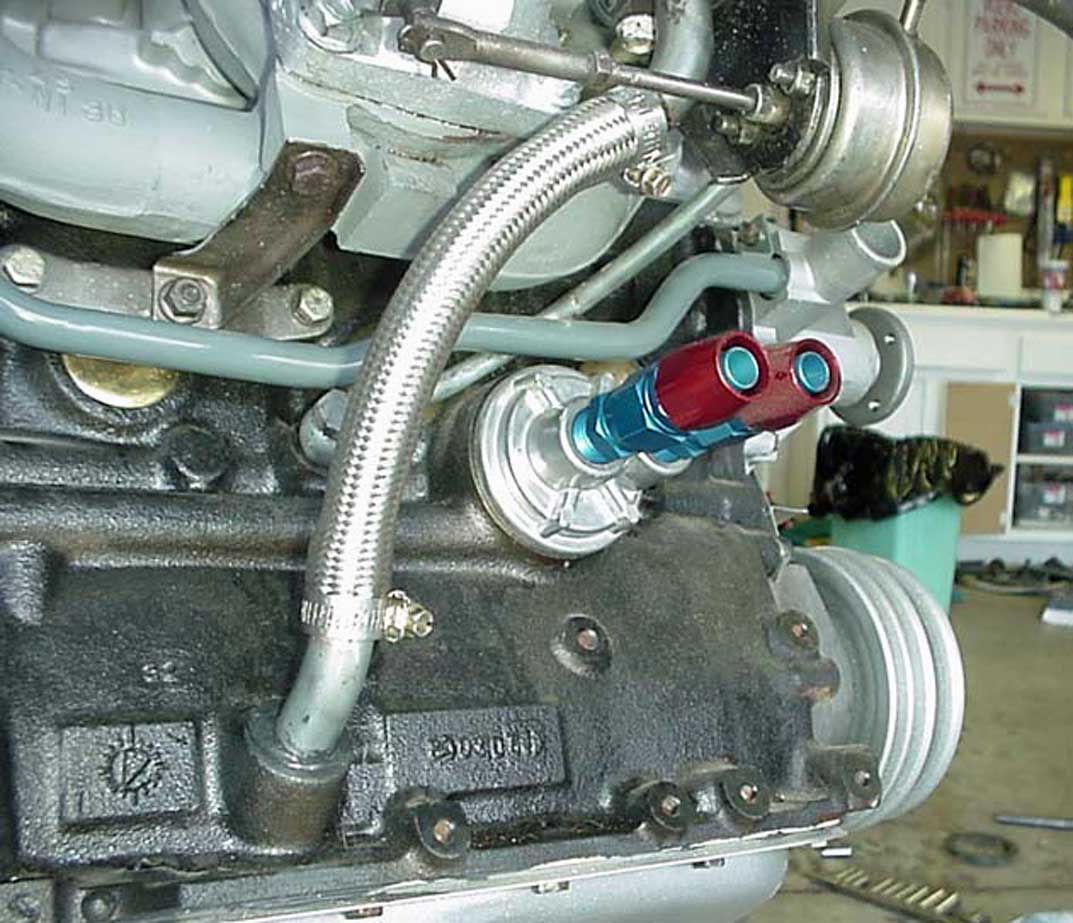
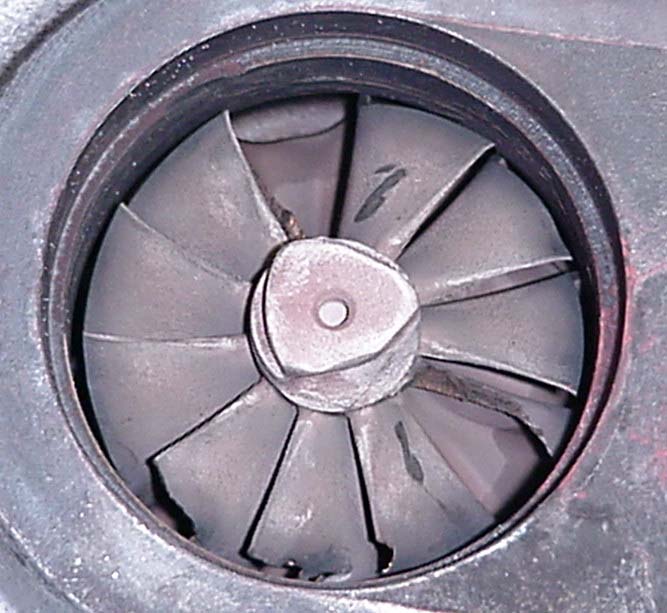
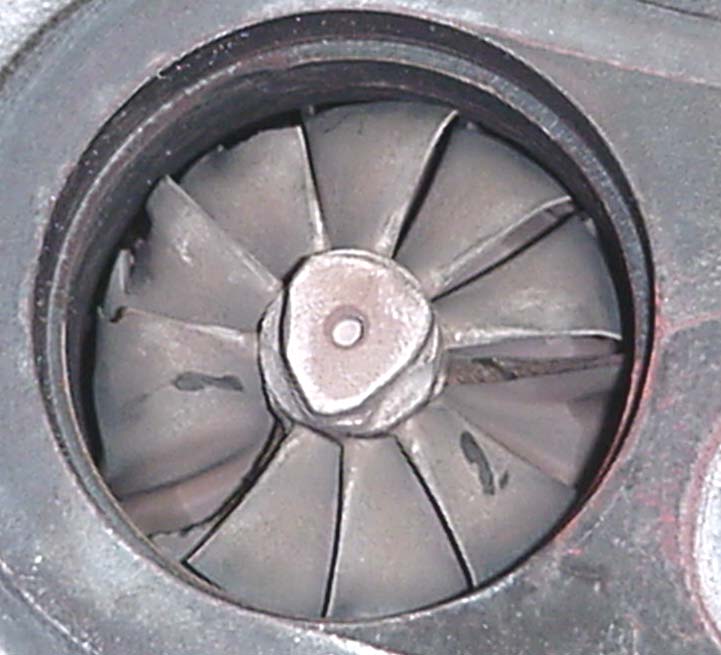
The turbocharger
was
a Turbonetics "Super 60" (T-3 based) bolted to a later style
turbo exhaust manifold. It had a 60 trim compressor
wheel and .63 A/R turbine housing. Performance was
pretty good, but the exhaust turbine came apart after about
2,000 miles.
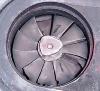
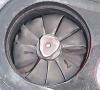
Here are some pics of the damaged exhaust
turbine and the pieces I found in my exhaust pipe.
After
that
mishap, I moved to a standard T-3 turbo from a 240 Turbo,
because I had one laying around.
Specifications for this Project:
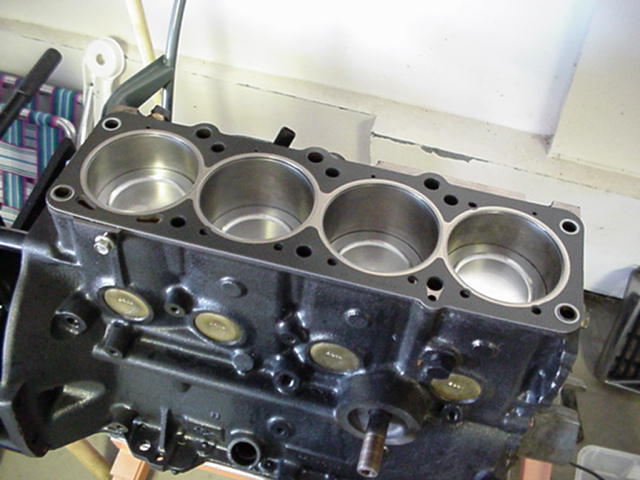
Block: 1984 B23FT, bored from 96 to 97 mm (3.818").
Click here for "BEFORE" picture
Click here for "AFTER" picture
Deck Height: (Crank
CL to deck) 231.685 mm (9.121")
Why bore the block to 97 mm?
The stroker crank and other
parts supplier
(Topi Hynynen of Hollywood, CA, who went out of business
shortly after this) specified and sold me 97 mm pistons. He claimed to
be highly knowledgeable in Volvo race motors. He
insisted that boring a B23FT to 97 mm was never a problem for
him. While it didn't become a problem with my project, I later
discovered that boring a B23 block
past the 96.6 mm second bore maximum is not recommended.
The reason for this is because of a design problem common in
many Volvo B23 blocks where the core had shifted slightly
during the casting stage. This made the cylinder wall
thicknesses uneven and potentially too thin in some spots
(sometimes... not
always). If one of these thin-walled blocks is bored too
much, the cylinder wall becomes dangerously thin and would be
prone to cracking. This happened to several
fellow Volvo enthusiasts who tried a 97 mm bore following my
project. I
consider myself lucky that my block never cracked.
If you are unsure about your B23 block, you should have a Sonic
Test done by your machinist to determine cylinder wall
thickness before boring. I have been told that a minimum
cylinder wall thickness of 0.100" (2.5 mm) is recommended for a turbocharged
engine.
Pistons: WISECO forged.
Bore: 97 mm (3.818").
Compression
Height: 30.785 mm (1.212").
Wrist
Pin
Diameter: 22 mm (.866") full floating.
Reverse
Dome: 12cc dishes (reverse domes) with 4 mm radius at
bottom. 10 mm (.400") "squish band" retained
around edge. This dome was done for me by Wiseco after I
bought the pistons. Sounds kind of backwards, I know.
I had no choice as the pistons sold to me were the wrong
configuration and needed to be re-configured for the stroker
design.
Assembled Deck Height: 0.40 mm (.016") below deck.
Squish
Height: 0.056" using Cutting Edge head gasket of 1.0 mm
(.040") compressed.
Update on Squish Height: This squish
height dimension has turned out to be excessive. It was
used at the strong recommendation of Pauter Machine, who
supplied the connecting rods. They didn't know better and
neither did I back in 2000 when this was done. A better
squish height would have been to set the pistons to be at or
just above the deck at TDC, to a max height of 0.012" above the
deck. My next motor will use this configuration.
Piston
Source: WISECO
PISTONS, INC. , 7201 Industrial Park Blvd.,
Mentor, Ohio 44060, (440) 951-6600, http://www.wiseco.com/
Piston Side Clearance:
When my engine was being
completed, I had the machine shop set the piston clearance to
the supplier's recommended figure of .004" (four
thousandths). Consequently, the pistons made a
little bit of a clatter noise when cold. I later learned that .004 inch is
considered to be a bit much. Mike Aaro of Unitek in Sweden recommended
the side clearance for a forged street-driven piston of .0018
to .0020 inch (eighteen to twenty ten-thousandths). For
your project, you should consult the piston designers for
these specs.
Connecting Rods: PAUTER "X" beam,
forged E4340 Chrome-Moly steel.
Length
(Center
to Center): 6.140" (156 mm)... 11 mm longer than stock
"M" rods, which are 145 mm. These custom rods give the
motor a rod to stroke ratio
of 1.75:1, which is a little less than stock (OEM is 1.81:1 ratio).
Small
End
dia. (wrist pin): .866" (22 mm)
Big
End
dia.: 1.8897" (48 mm)
Small
End
width: 1.120" (28.448 mm)
Big
End
width: 1.164" (29.565 mm)
Big
End
weight: 485 grams
Overall
weight: 696 grams
Rod
Bearing:
(Listed below with crankshaft specs)
Source: PAUTER
MACHINE CO., INC.
367
Zenith
St., Chula Vista, CA 91911
(619)
422-5384
FAX
(619) 422-1924
http://www.pauter.com/
Crankshaft:

OEM forged steel crank originally from a B23FT. Rod journals were offset
ground for increased stroke from 80 mm to 89 mm (3.503")
stroke. The rod journals were reduced from 54 mm to 45
mm. The main journals were kept original size (63+
mm).
Rod bearings used for this project are as
follows:
Clevite
CB-1120P
(full specifications below)
Shaft
diameter
(crank/rod journal): 1.7710-1.7717" (44.9834-45.0011 mm)
Oil
clearance:
.0006-.003" (.0152-.0762 mm)
Bearing
wall
thickness: .0588" (1.4935 mm)
Housing
diameter
(rod big-end): 1.8897-1.8905" (47.9983-48.0187 mm)
Some OEM Crank Main Journal/Wrist Pin Dimensions
Courtesy of Mike Aaro
First generation "red" engine
(B18/20/21/23/230, 1961-1984/85) main bearing size is 63.454 mm
nominal (integrated axial bearing). Wrist Pin is 22 mm
(1961-1972) and 24 mm (1973-1984/85).
The second generation main bearing
(1985-1988/89) is 55.000 mm nominal (separate axial bearing).
Wrist Pin is 23 mm.
The third generation and
final (1988/89-1998) design was 63.000 mm nominal (integrated
axial bearing). Wrist Pin is 23 mm.
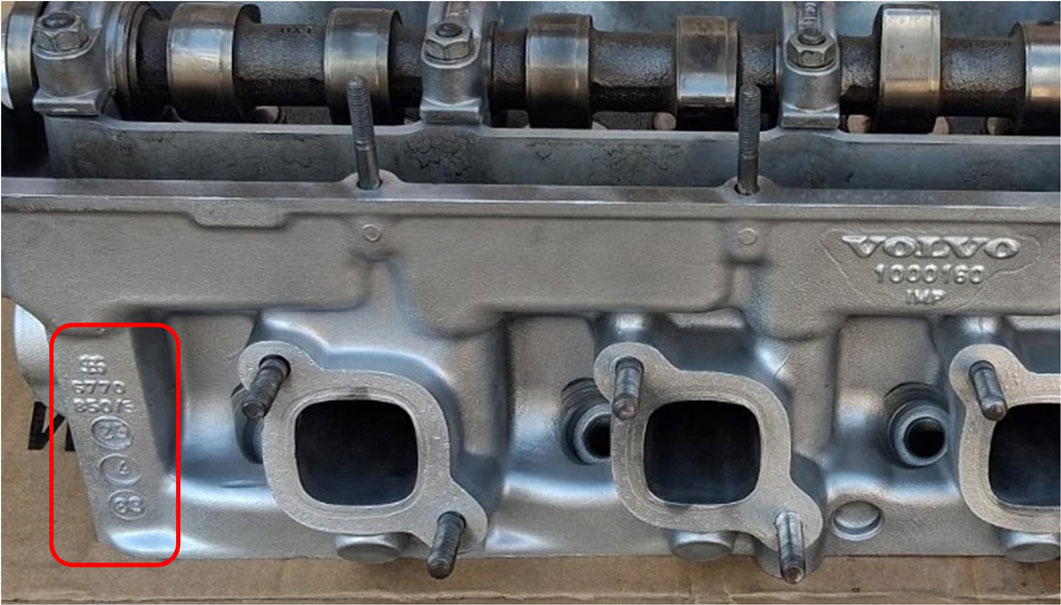
Head used for this project:
"1000398" casting with 3/85 date code (small coolant passage).
Combustion chambers opened
from OEM 51.7 cc to 59 cc.
Chambers were re-shaped slightly
and valves unshrounded. The actual template used by my machinist is shown at
left (measurements
in this photo are in centimeters).
Images above of the #4 combustion chamber (measurements for this photo
are in 10ths of an inch).
Valves: OEM turbo valves
(Stellite faced, sodium filled exhaust) and then later style
OEM valve springs were used.
This image below shows a comparison between the OEM combustion
chambers (51.7 cc) and the modified ones (59 cc).
Also, it's easy to see the difference between the big coolant passage (BCP) head and the more
desirable small
coolant passage (SCP)
head.
Why is the Small Coolant Passage head
better? It is considered to be a stronger
design that is less prone to cracking.
When did this change occur?
One Turbobricks subscriber wrote: "I
have a 398 head that is BCP dated 3/3/84... and a 398 head
that is SCP dated 4/12/84." I also have a SCP
398 head I pulled from a Pick-A-Part that is dated
4/4/84. Apparently this change occurred between March
3 and April 4, 1984.
Where can you find the date
code? It's molded into the aluminum on
the exhaust port side very close to the back of the head.
The numbers are vertical, i.e.: for my 4/4/84 head, you
can see a "4", then below that a "4", then below that an "84".
This one below is a 160 head with a date of 23/4/83.
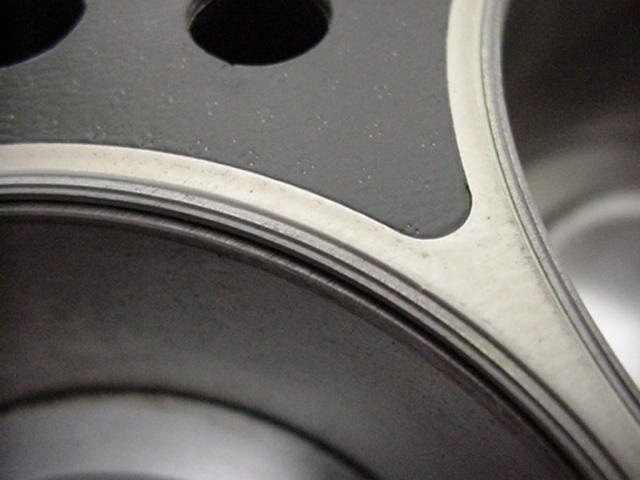
Head Gasket: The head gasket I
used was the "cutting edge" type, which actually has a
hardened steel fire ring that cuts into the soft aluminum and
seals the head. It's designed for very high combustion chamber
pressures and is 0.040" (1 mm) thick when compressed. In
comparison, a stock Volvo head gasket usually runs about
0.050" to 0.060" (1.25 to 1.5 mm) when compressed. The
CE gasket is very expensive (about $300) and considered to be
the best gasket made.
Compression Ratio: The above combination (using a head gasket
with 1.0 mm/.040" compressed thickness), came to about 9.4:1
Compression Ratio.
Camshaft: The camshaft I used for this motor was
the Unitek Phase One. It's an aftermarket cam that
works very well with a turbocharged engine. It has
almost 12 mm of lift and very short duration. It
completely blows away other cams I have experienced. It
may be ordered from Unitek
in Sweden.
Some machine work and assembly done by:
Greg Landes
Millenium Motorsports, Temecula, CA
951-699-1889
|


 alternators are known for poor voltage.")


