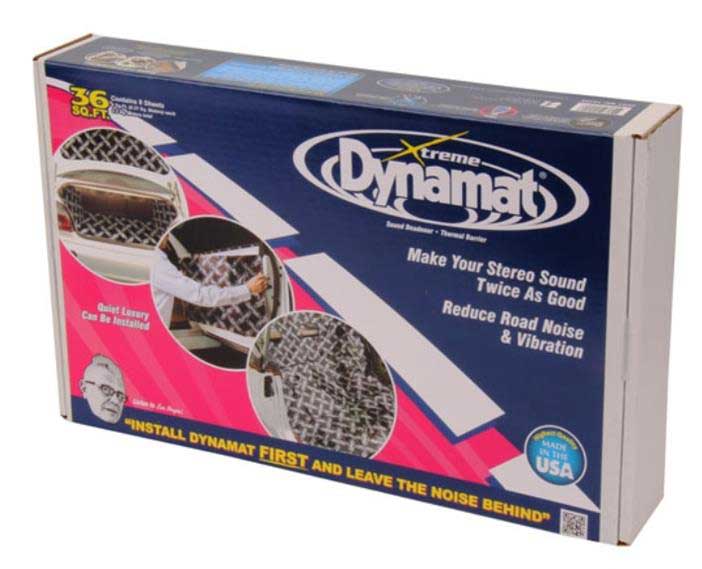
Three different Dynamat products are
used below:
|
Dynamat Extreme,
Dynapad and Dynaliner.
I began
this installation in the summer of
2017.
Before working on the AC (see my Classic Auto Air installation HERE), I
decided this would be a good time to gut the
interior and cover as much as possible with
sound deadening material. I had been
planning this part for a while and I had
bought some Dynamat a year earlier. My 242
was pretty loud inside when driving.
You didn't really notice it much until you
drove a newer, much more quiet car. It
made conversation difficult and listening to
a radio pretty useless.
This was my
first experience with Dynamat,
however I have used cheaper alternatives in
past years.
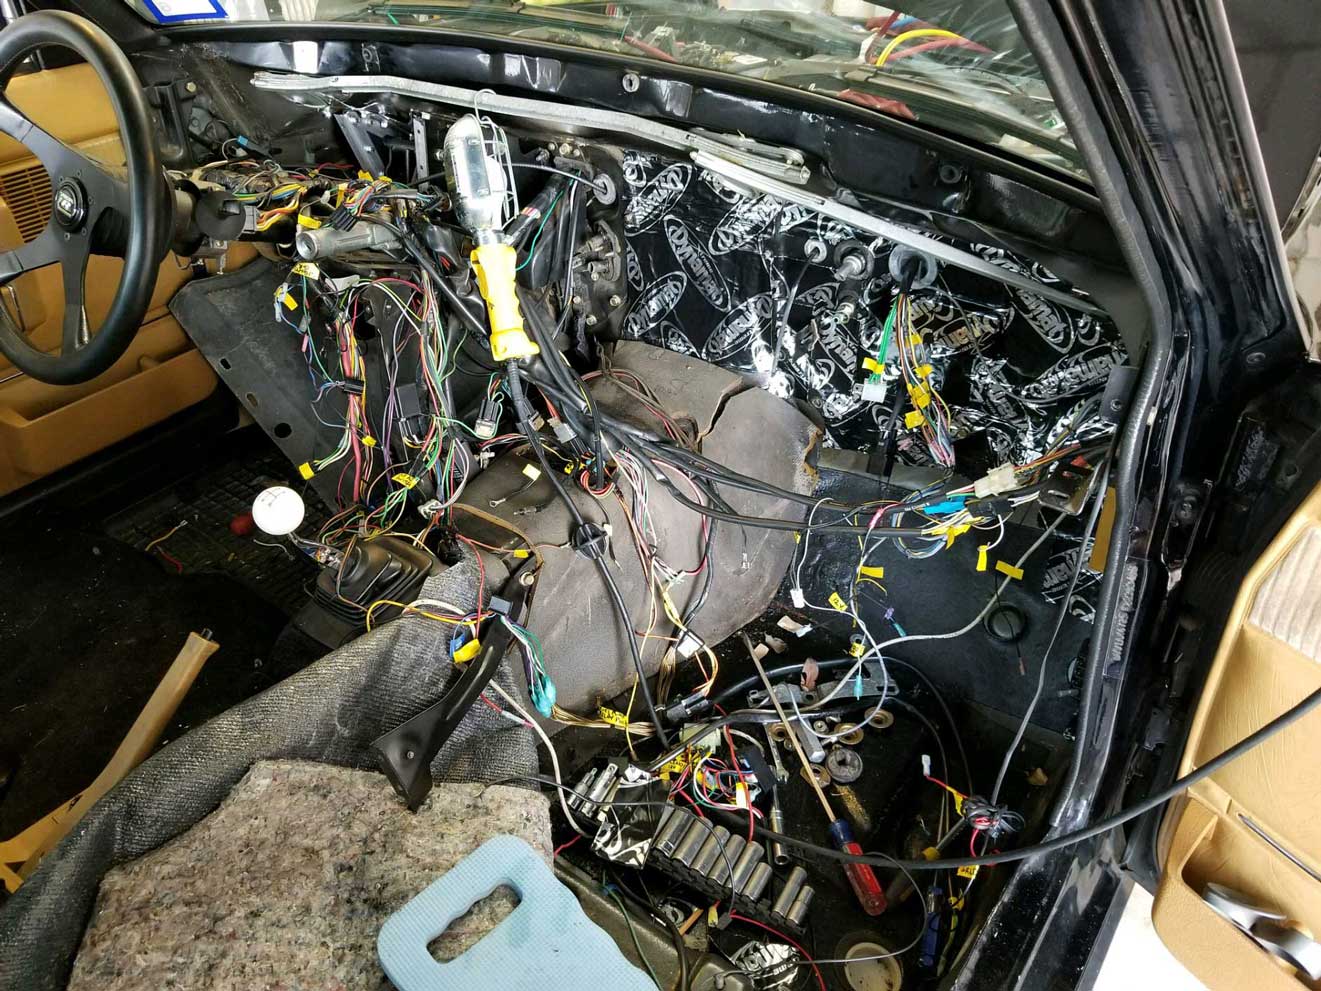
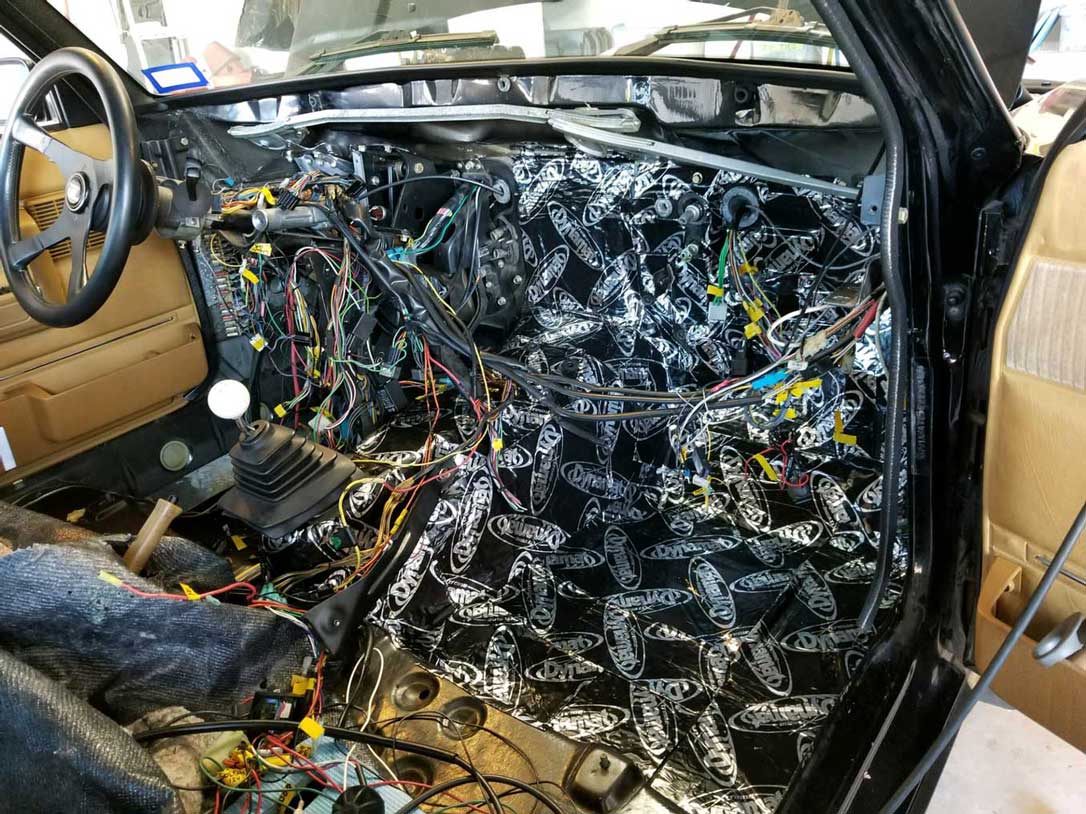
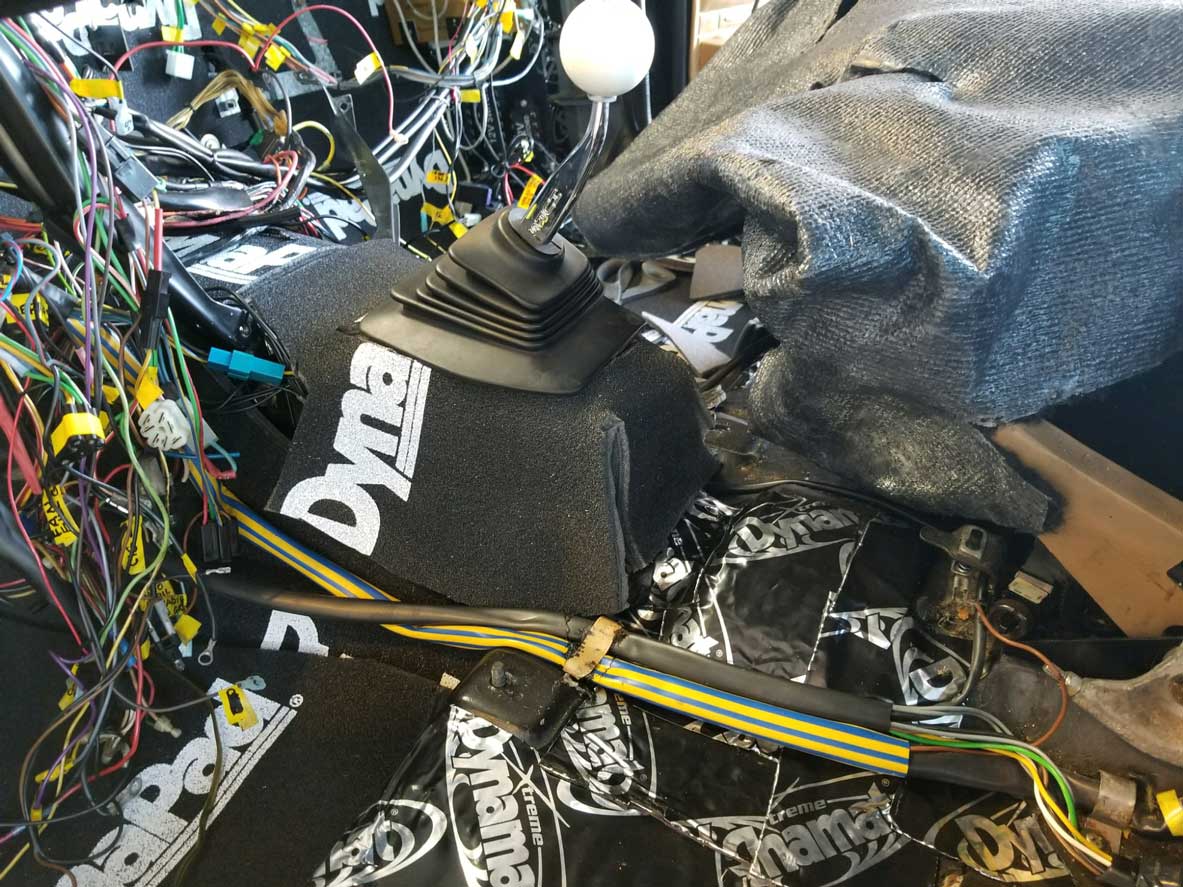
After gutting most of the interior, I began with the firewall.
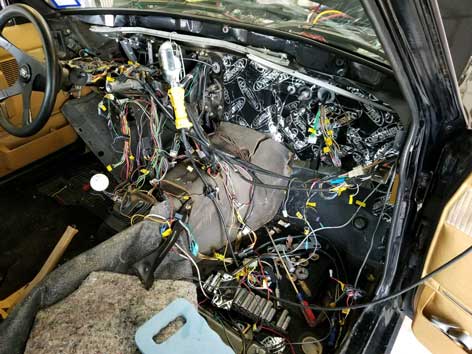 There was
originally a thick Volvo factory pad
on the firewall made of open cell
foam with an asphalt type lining on
one side. It was the same type of material
as that stuff on the transmission
hump in this photo. It was in sad
condition, torn and falling
down. I pulled the old pad off
and began by applying Dynamat
Extreme all over the firewall.
There was
originally a thick Volvo factory pad
on the firewall made of open cell
foam with an asphalt type lining on
one side. It was the same type of material
as that stuff on the transmission
hump in this photo. It was in sad
condition, torn and falling
down. I pulled the old pad off
and began by applying Dynamat
Extreme all over the firewall.
Dynamat Extreme is a
peel and stick material with thick
butyl rubber on one side and heavy
aluminum foil sheeting on the
other.
It's very flexible, easy to cut with
scissors and stays stuck, really,
really well. I've used some
inexpensive alternatives before and
found some of those were not very
flexible and had trouble sticking or
staying stuck to vertical surfaces.
Dynamat does not have this problem
and it conforms to any surface shape
very well.
|
|
BE
CAUTIOUS OF SOME CHEAPER
COMPETITOR MATERIALS:
I
read a LOT of reviews about many
other competitor sound deadening
materials before I decided to
buy Dynamat. I
found that a number of
competitors are using a
different type of rubbery tar
material that can get melt and
get RUNNY in hot weather.
I have seen reviews from some
unhappy customers who found puddles
of oozing tar running down
interior firewalls and out of
the bottoms of door panels on
hot days, all over their
pristine interiors!
I
decided that is a
nightmare I was willing to
pay extra to avoid.
|
|
|
|
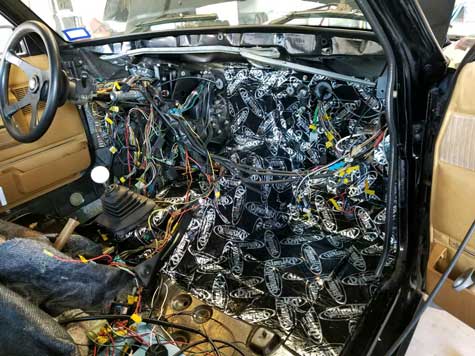
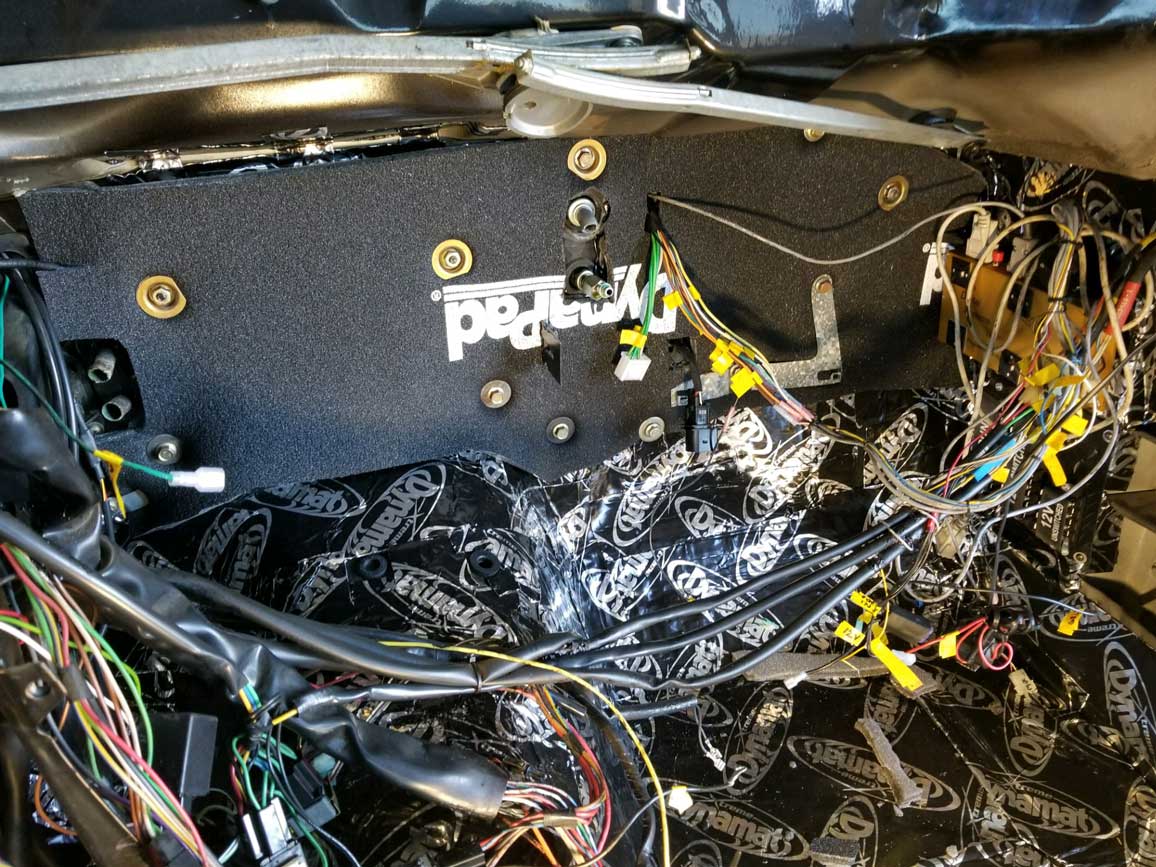
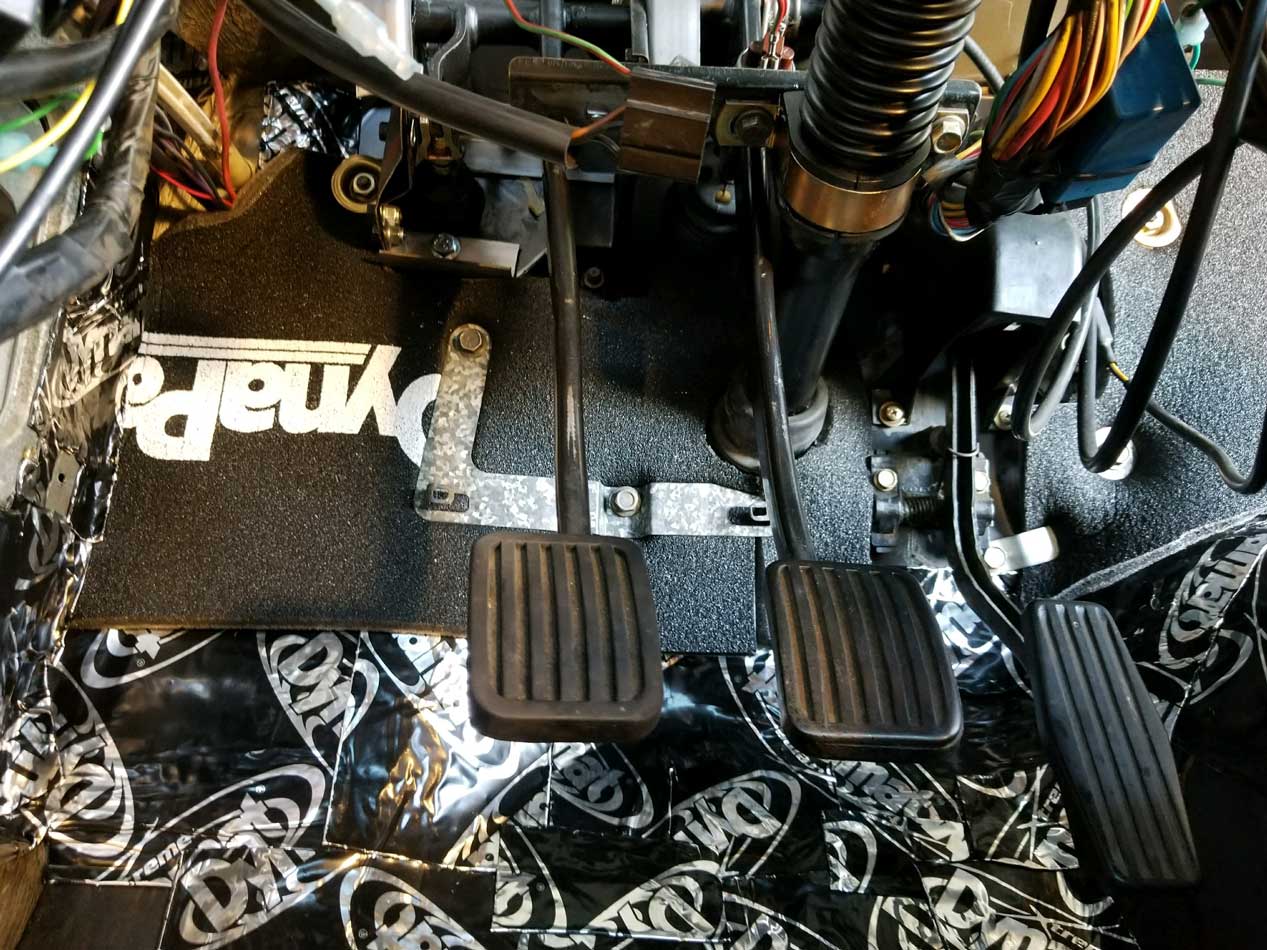
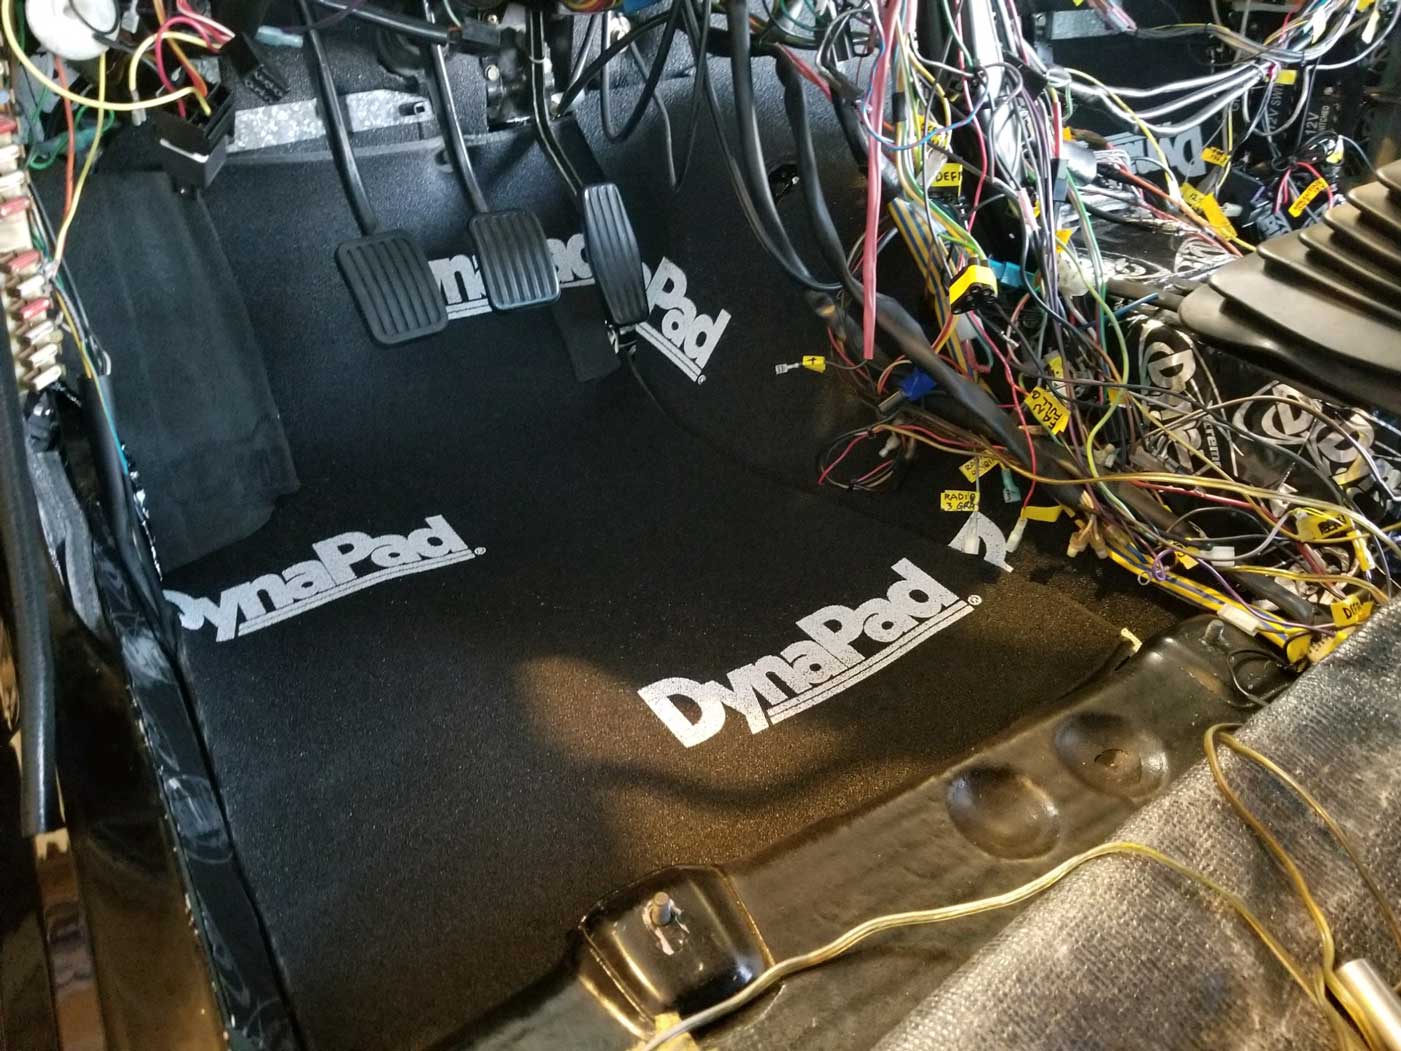
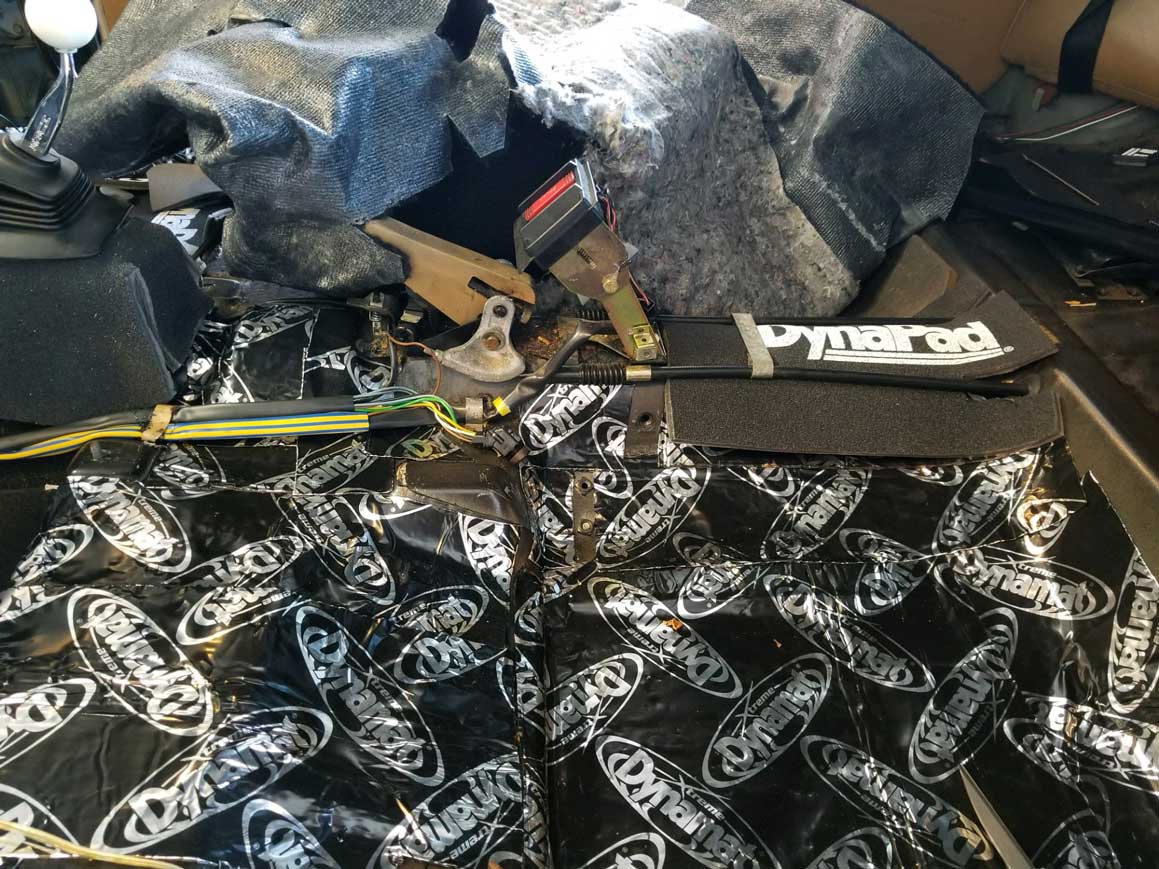
Then I
created a new firewall pad using Dynapad.
In this photo you can see Dynapad
covering the passenger side
firewall. It begins near the gas
pedal on the driver's side and
extends all the way to the right
edge of the passenger side firewall.
I
used the old original Volvo firewall pad as a
template and cut the new one with
scissors. The old firewall pad was
falling apart pretty bady.
|
|
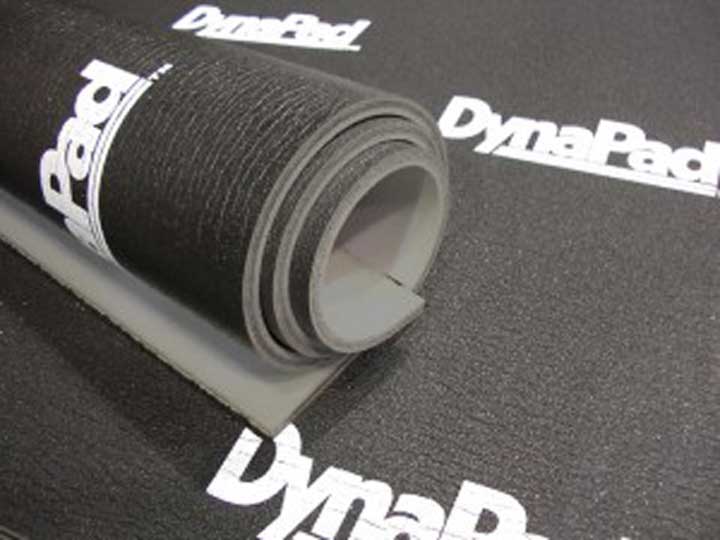
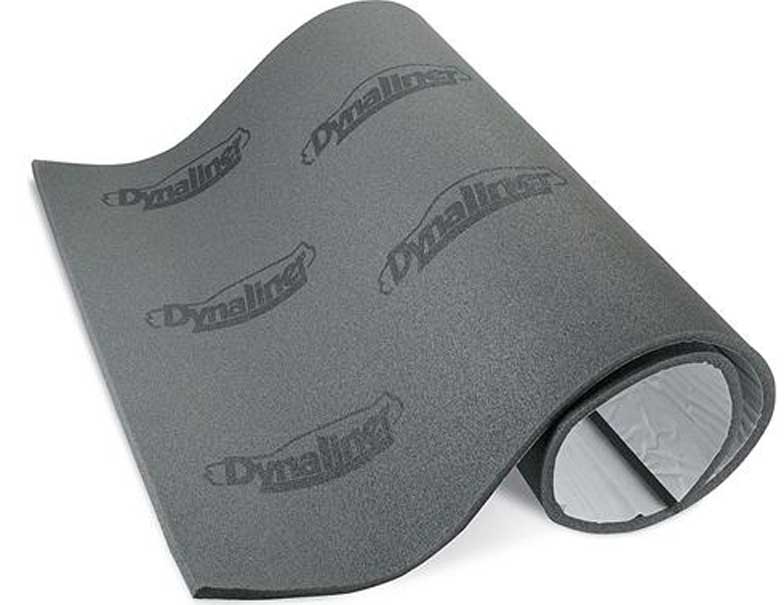
Dynapad
is a thick, firm foam material
(just under 1/2" thick) with a
butyl rubber core.
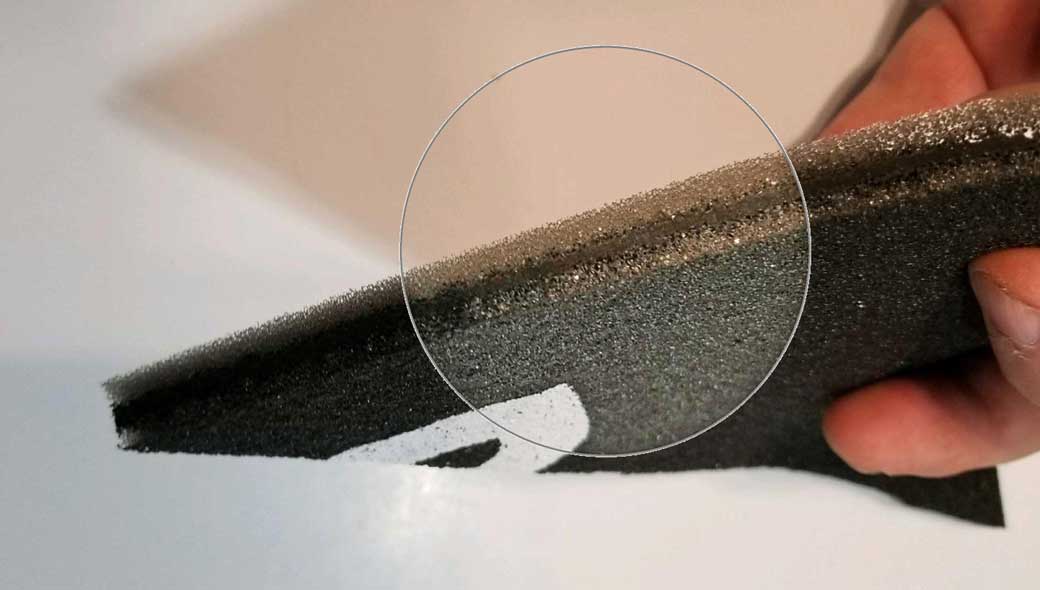
It's fairly heavy, about 1 lb. per
square foot. It does not have
self-adhesive, so it needs to be
held in place somehow if used on a
vertical surface. As you
can see in the photos, I used the
bolts and wide washers that were
already there on the firewall to
hold the original pad.
|
|


 alternators are known for poor voltage.")


